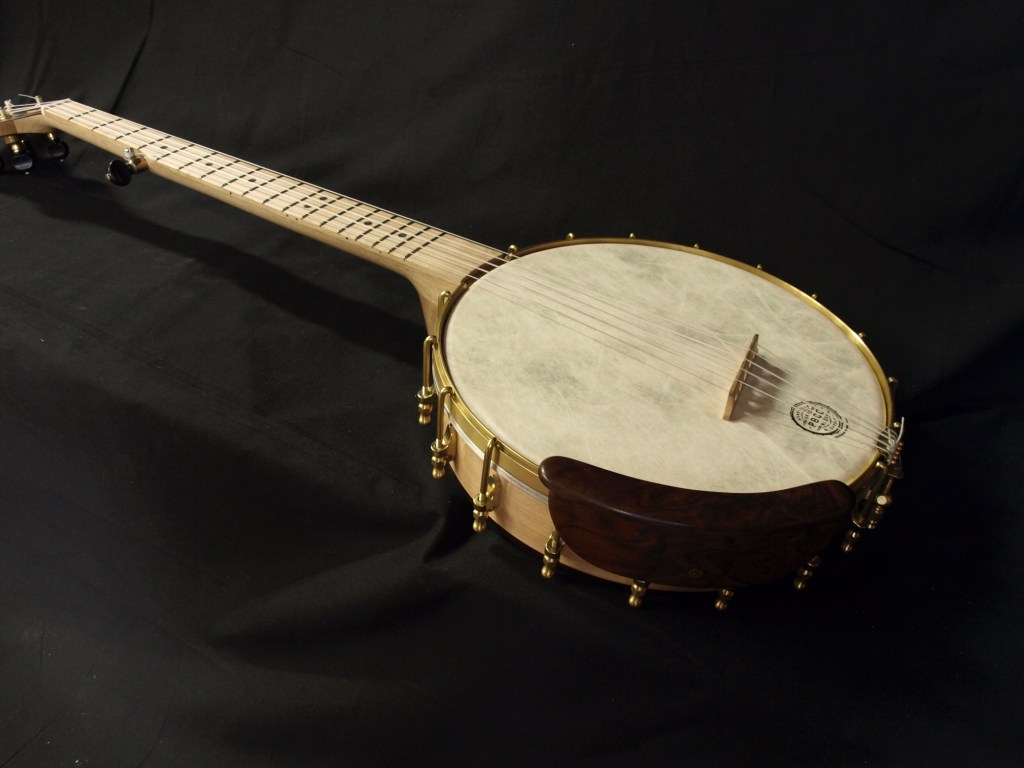
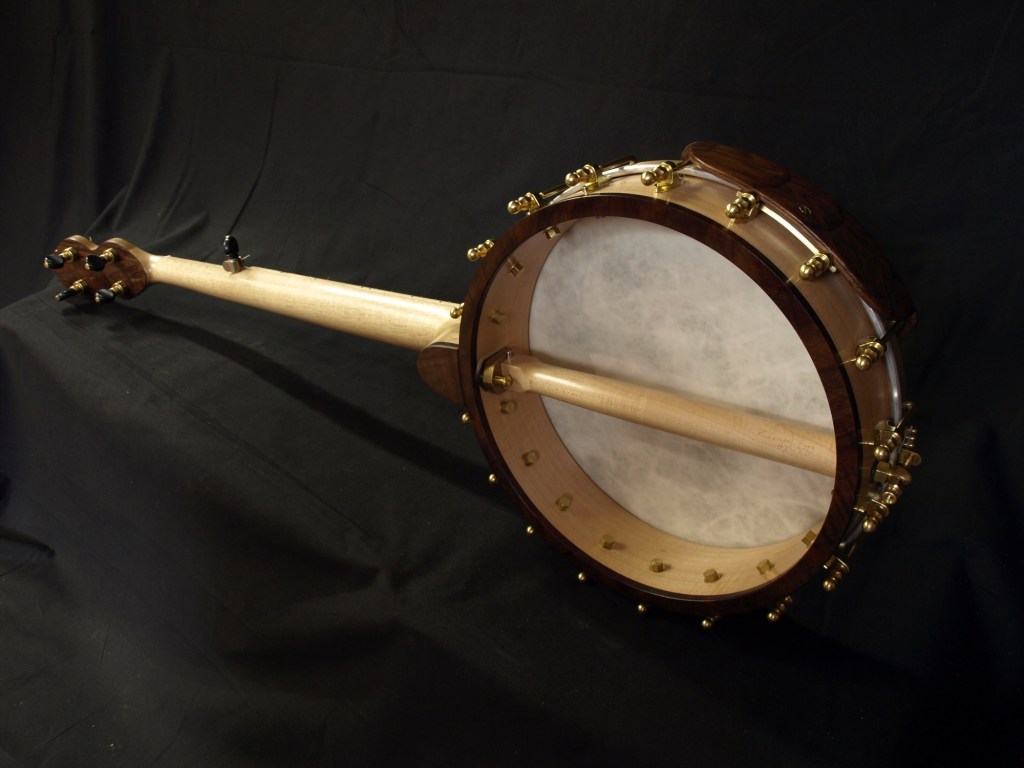
I was hoping to get back to making banjos this time around, but I don’t think I’ll have the time before my job starts up again. Maybe next Winter I’ll concentrate on that..
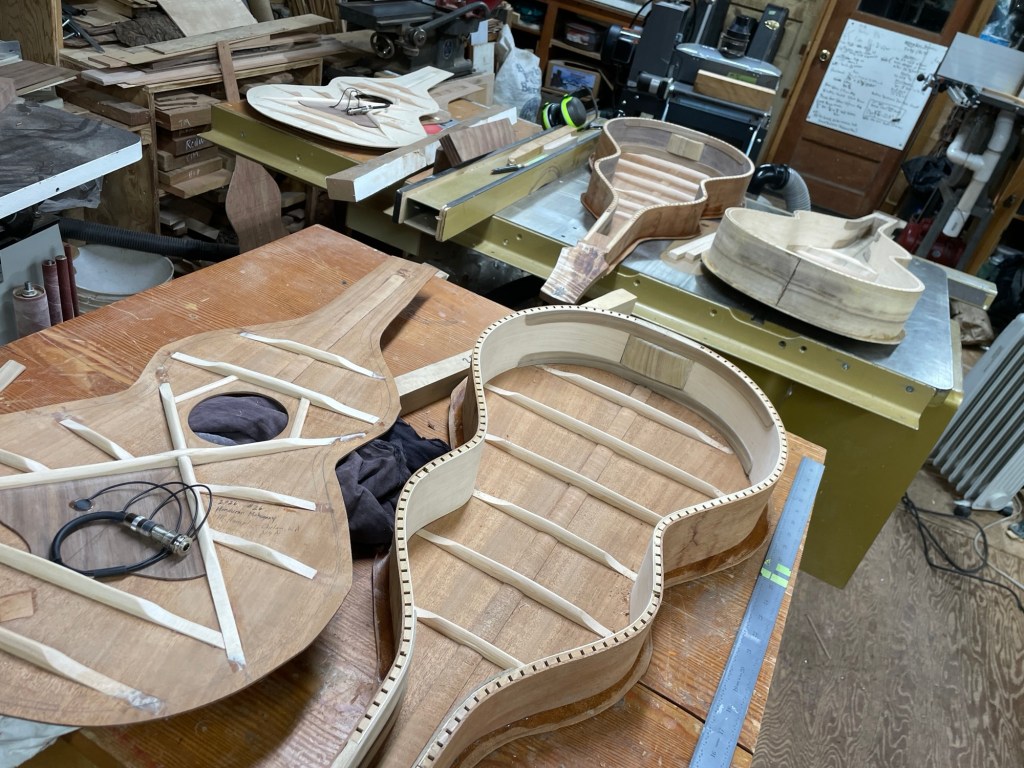
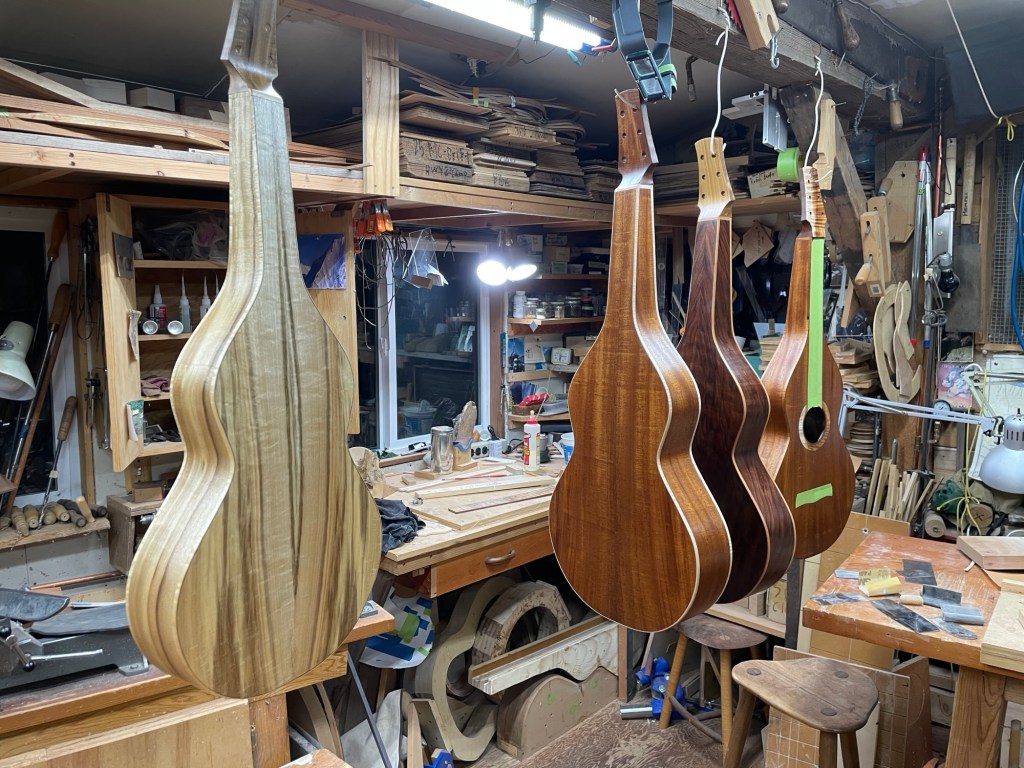
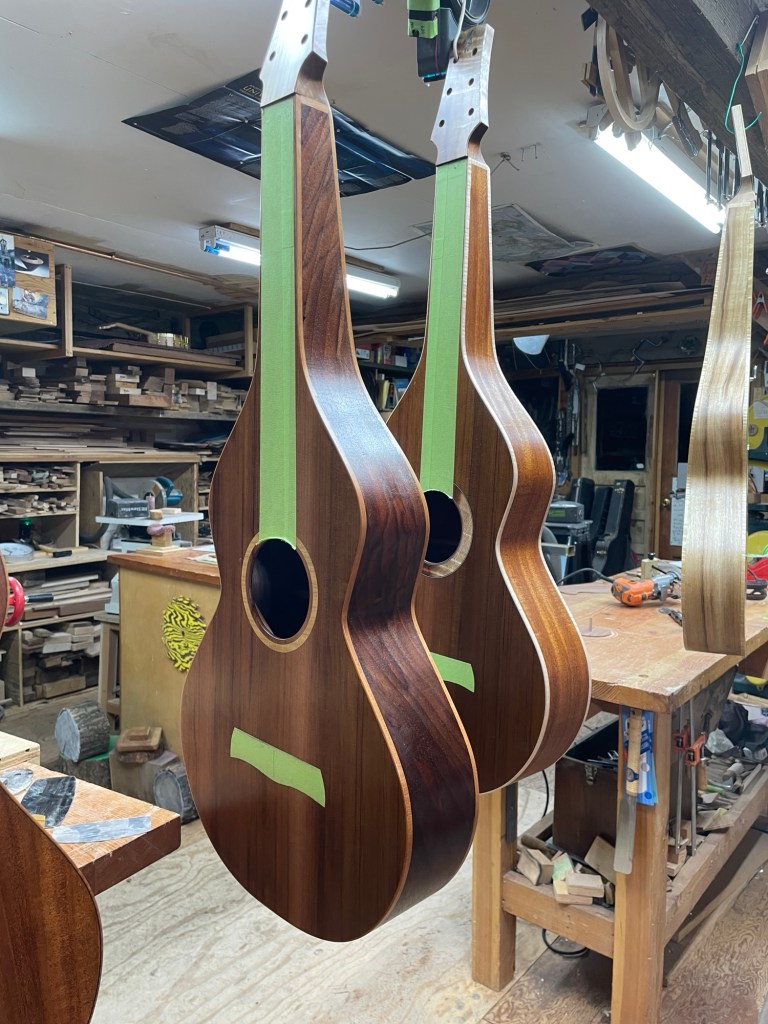
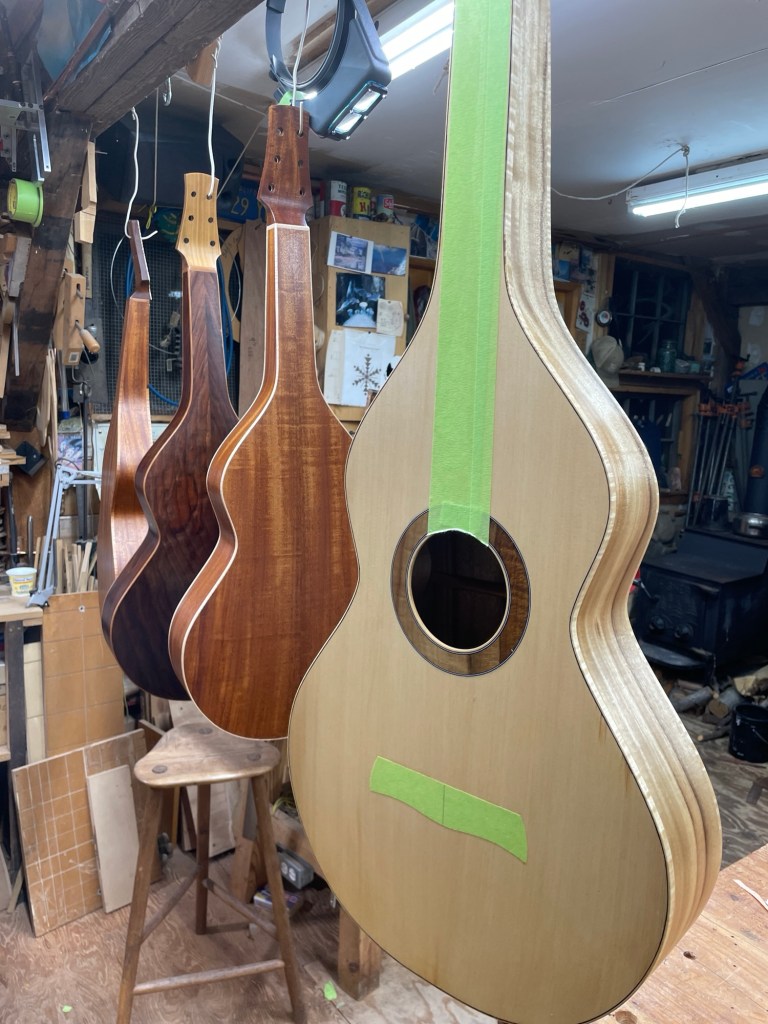
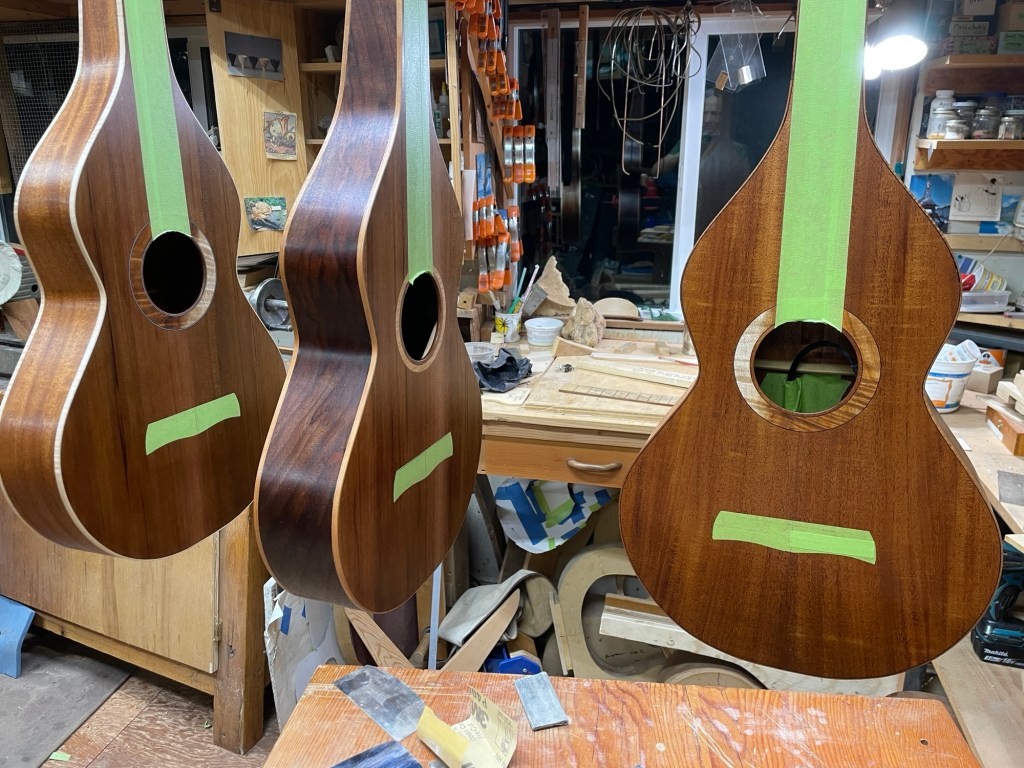
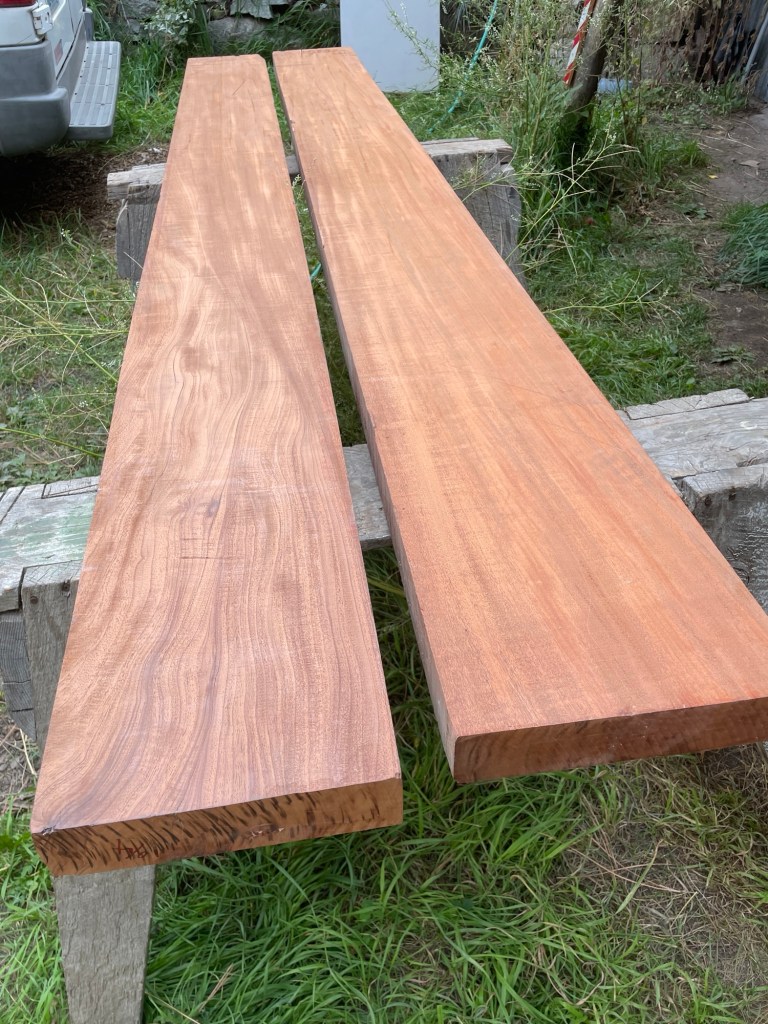
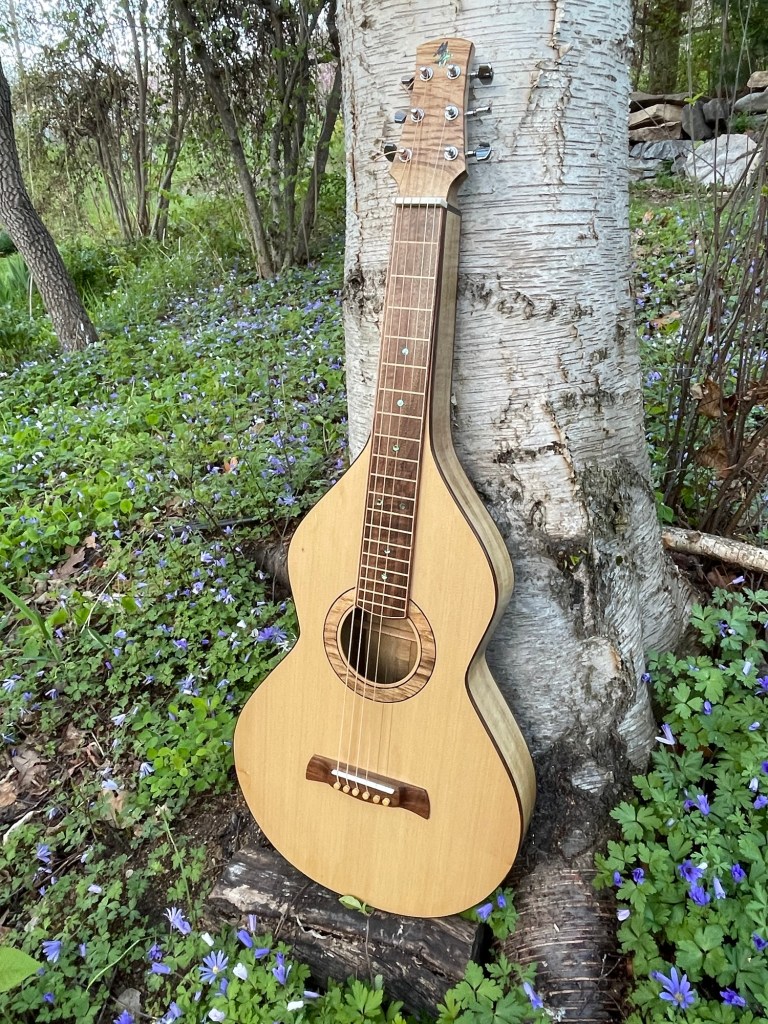
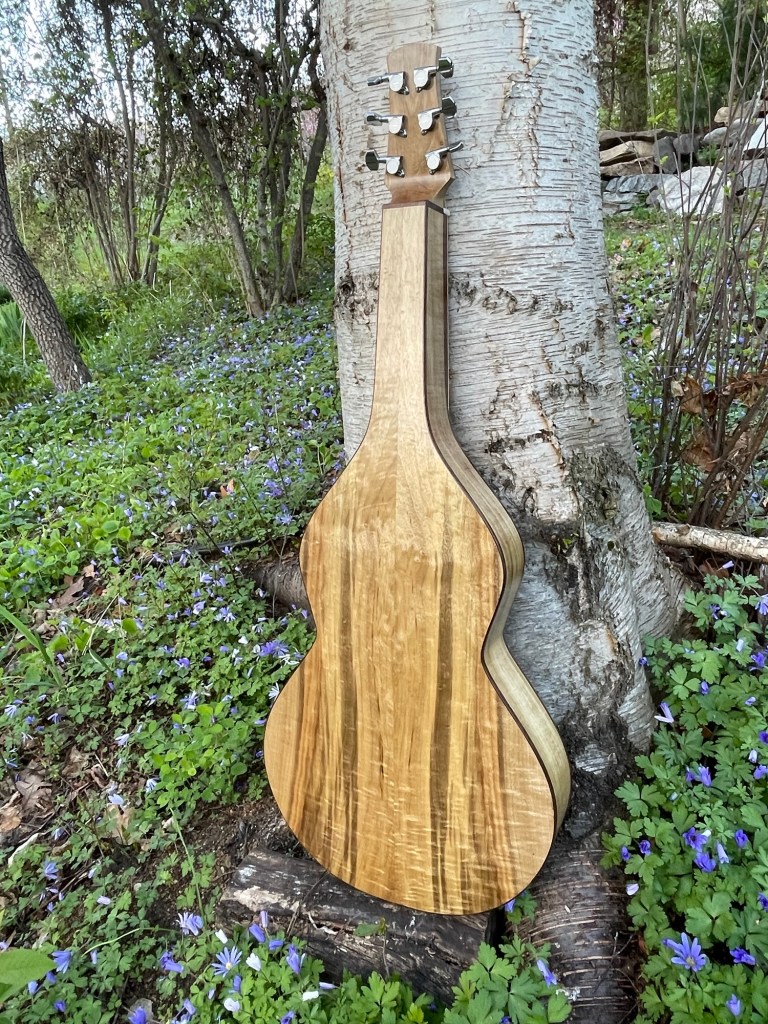
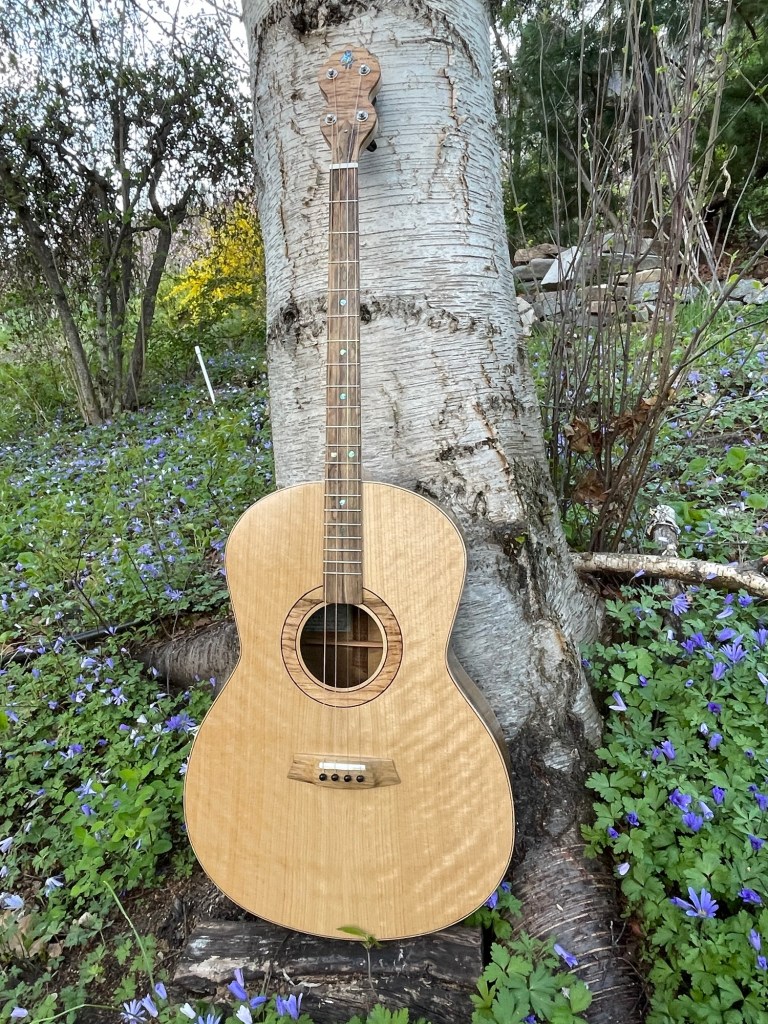
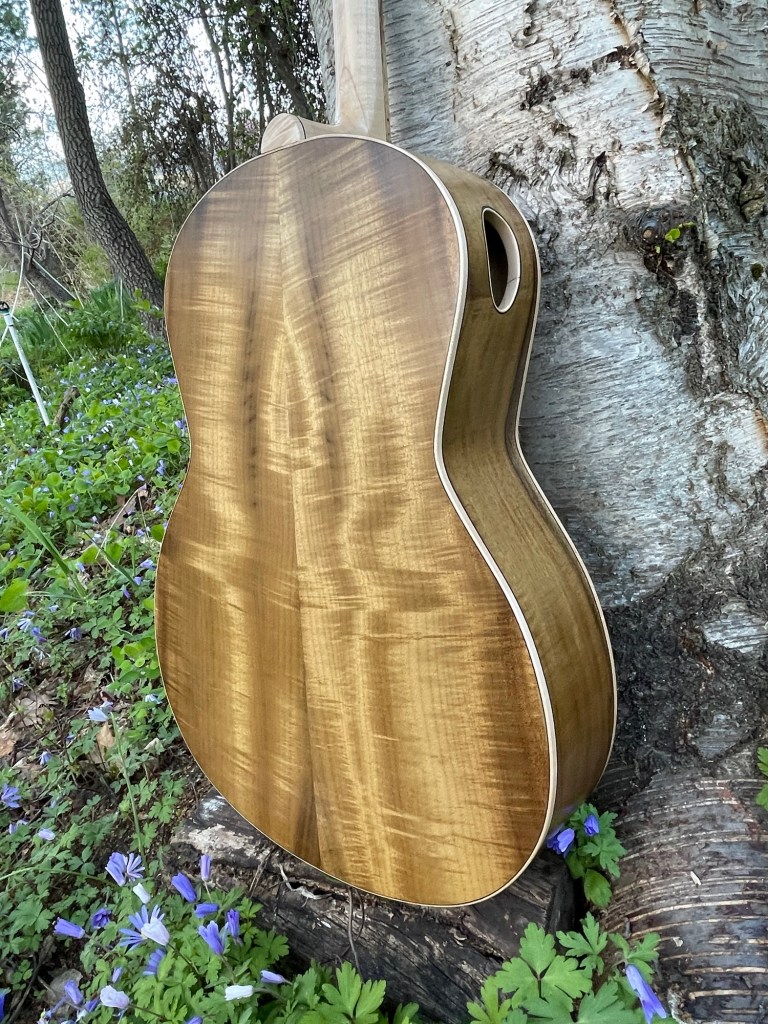
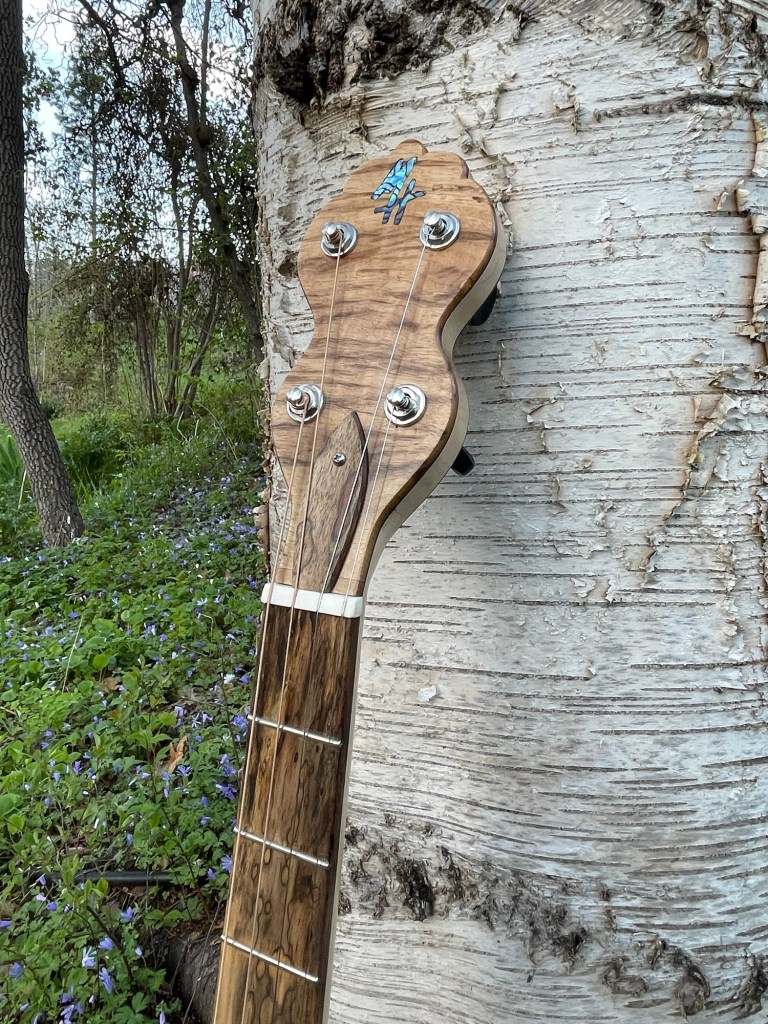
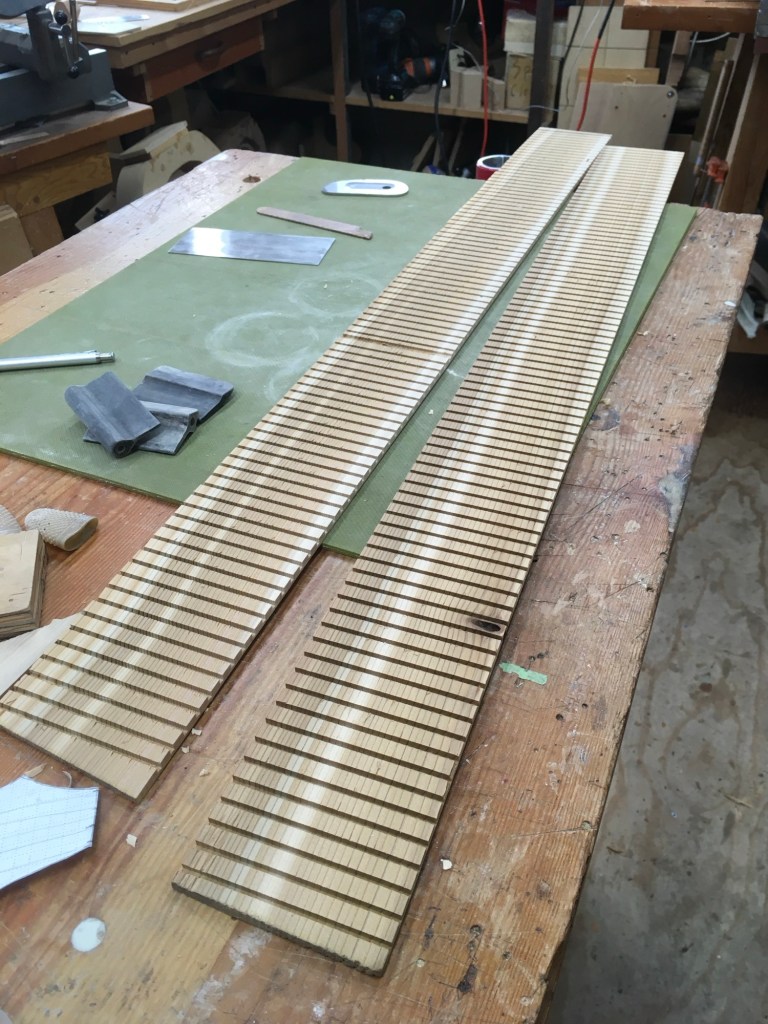
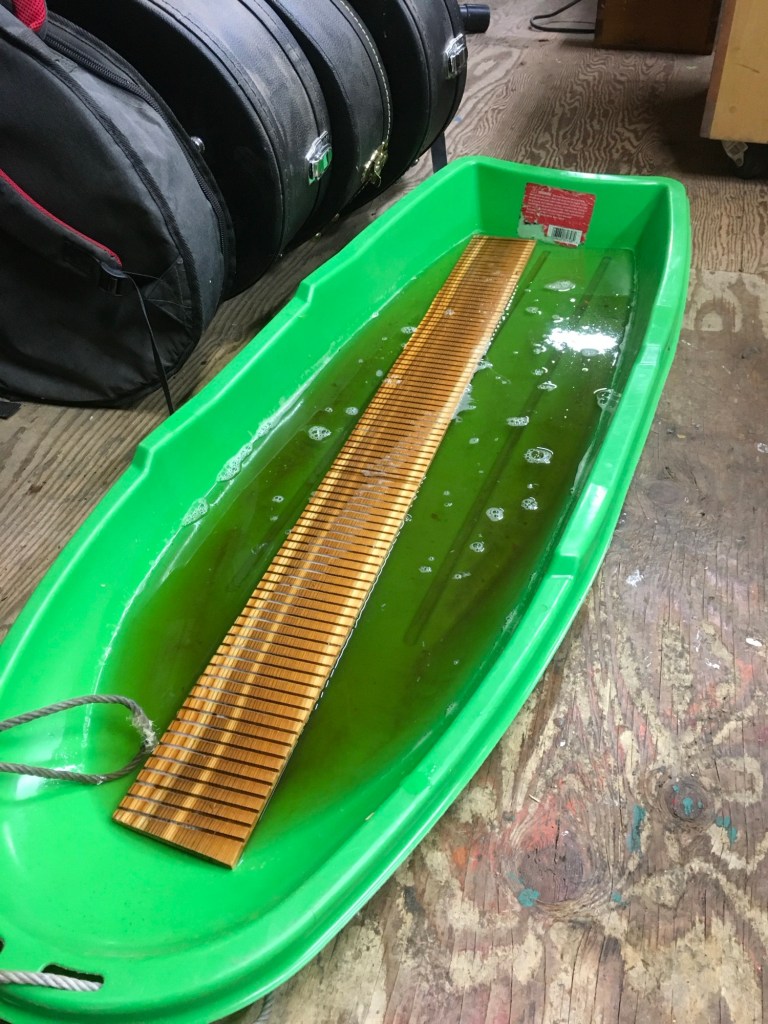
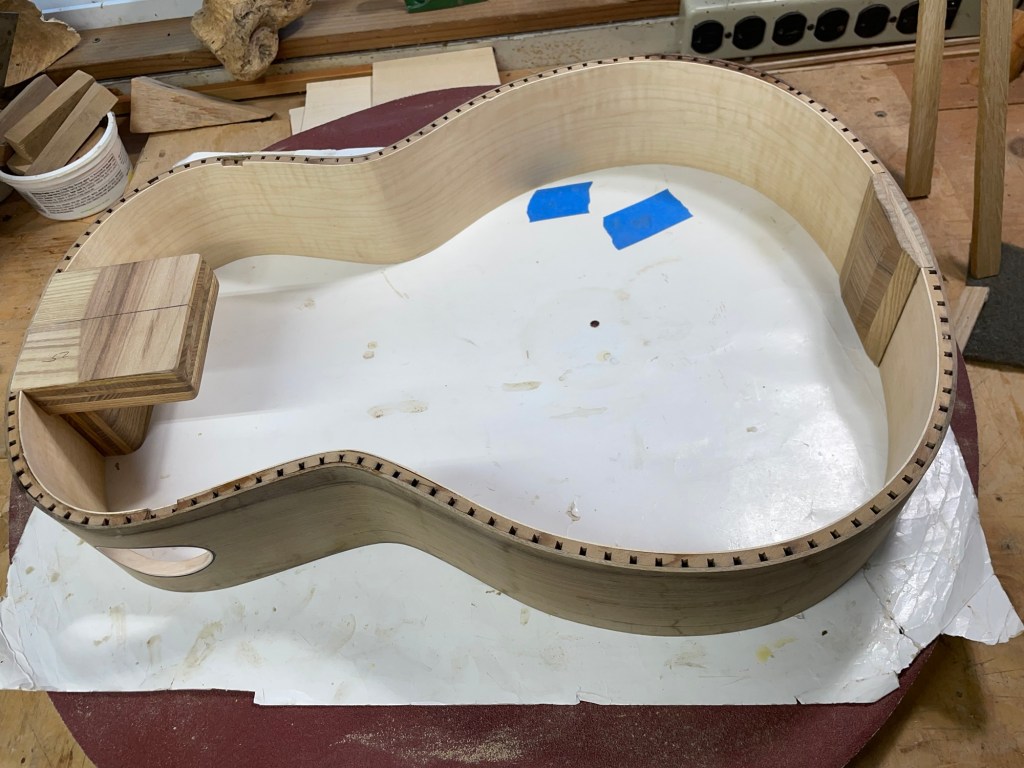
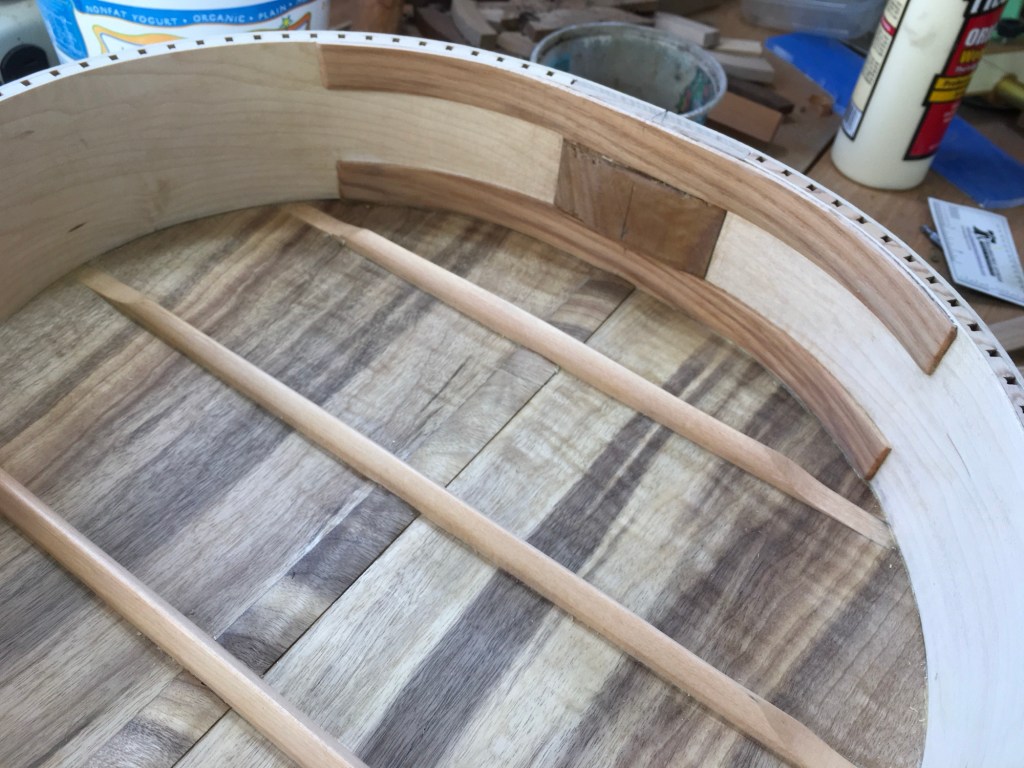
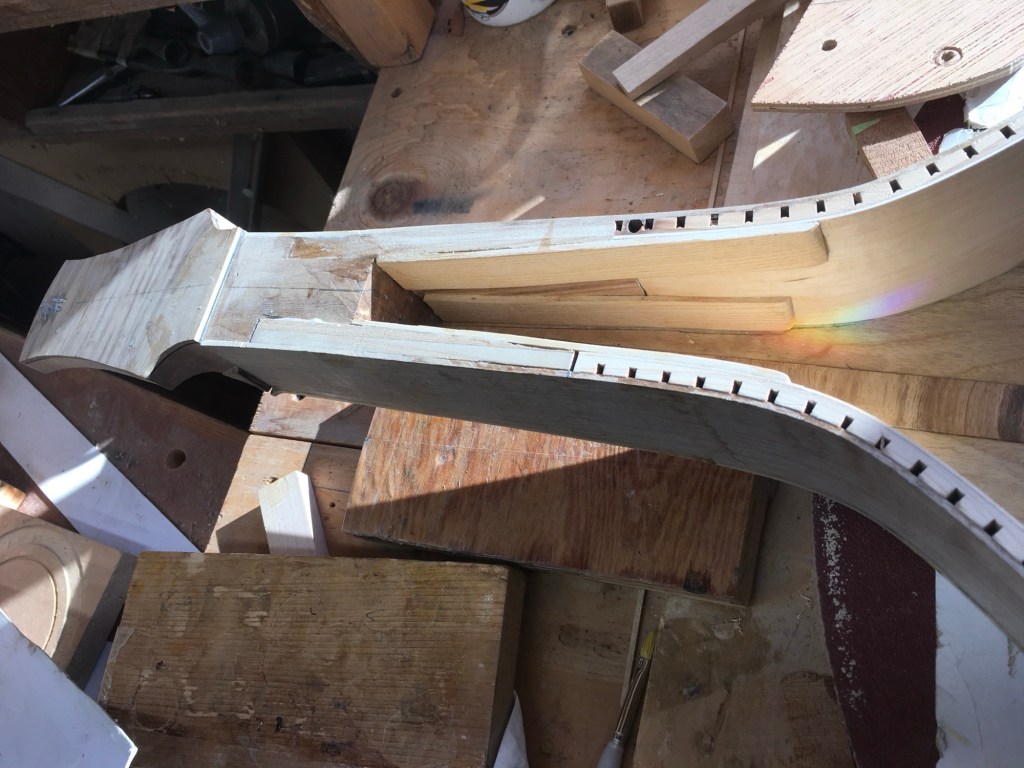
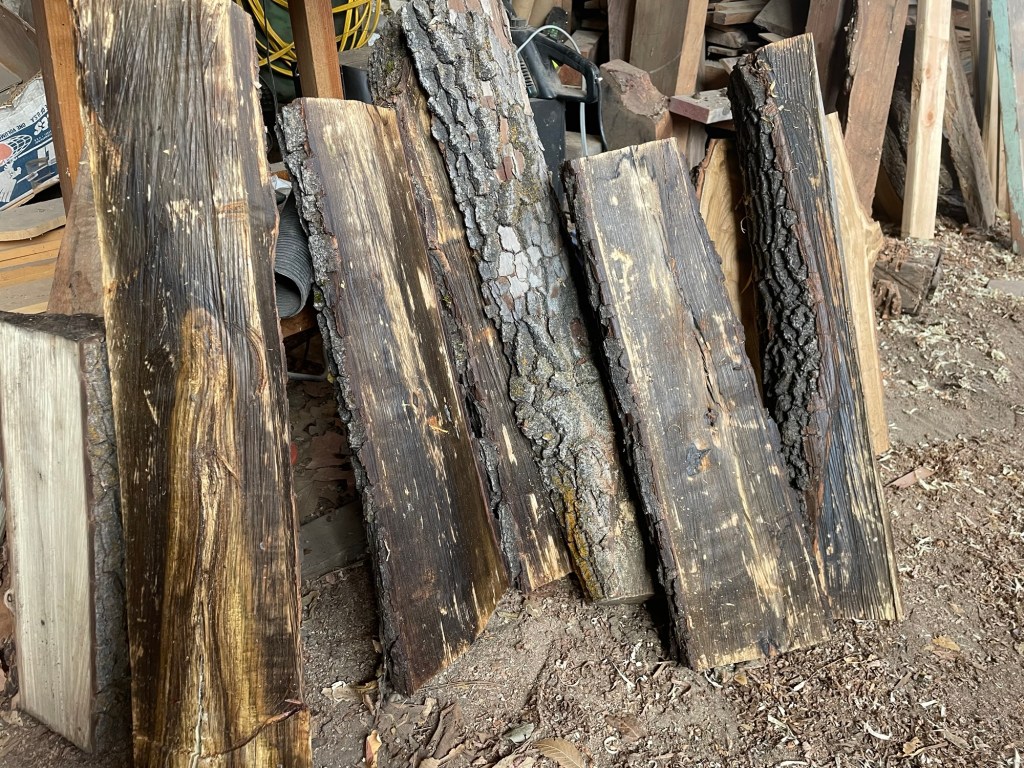
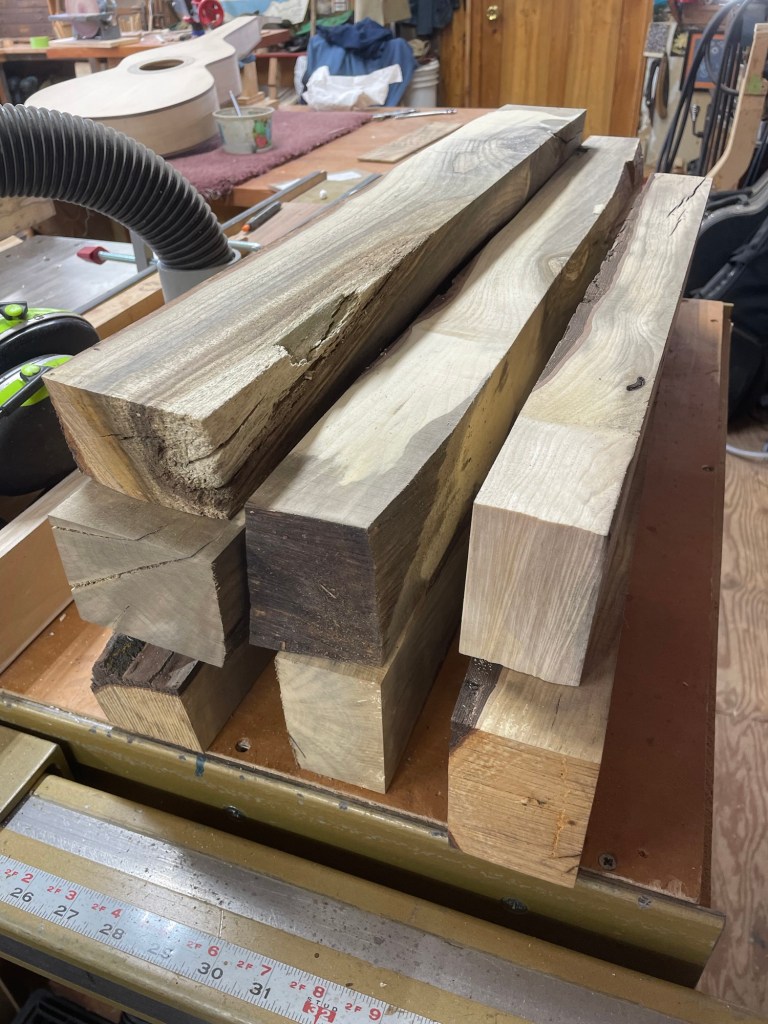
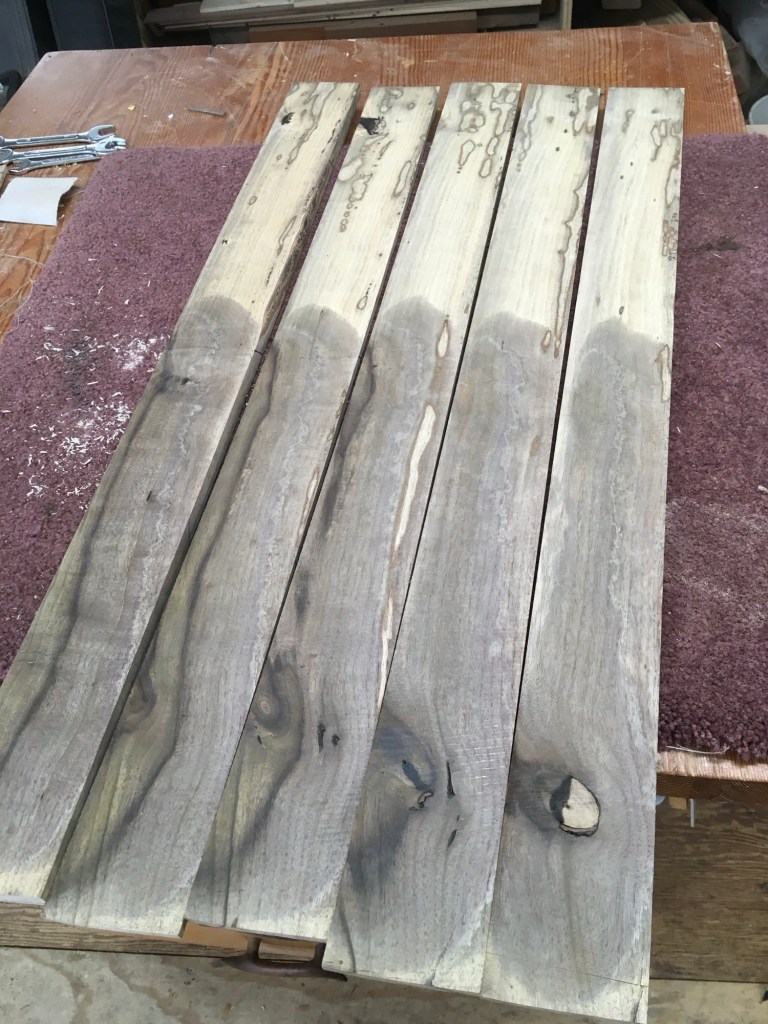
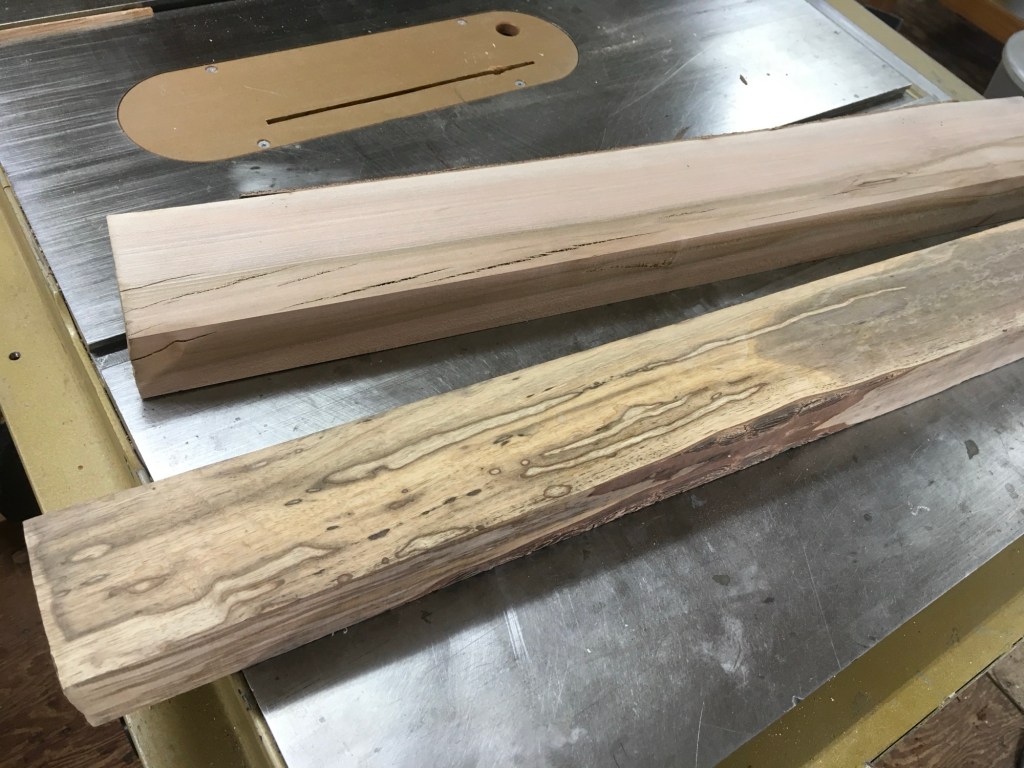
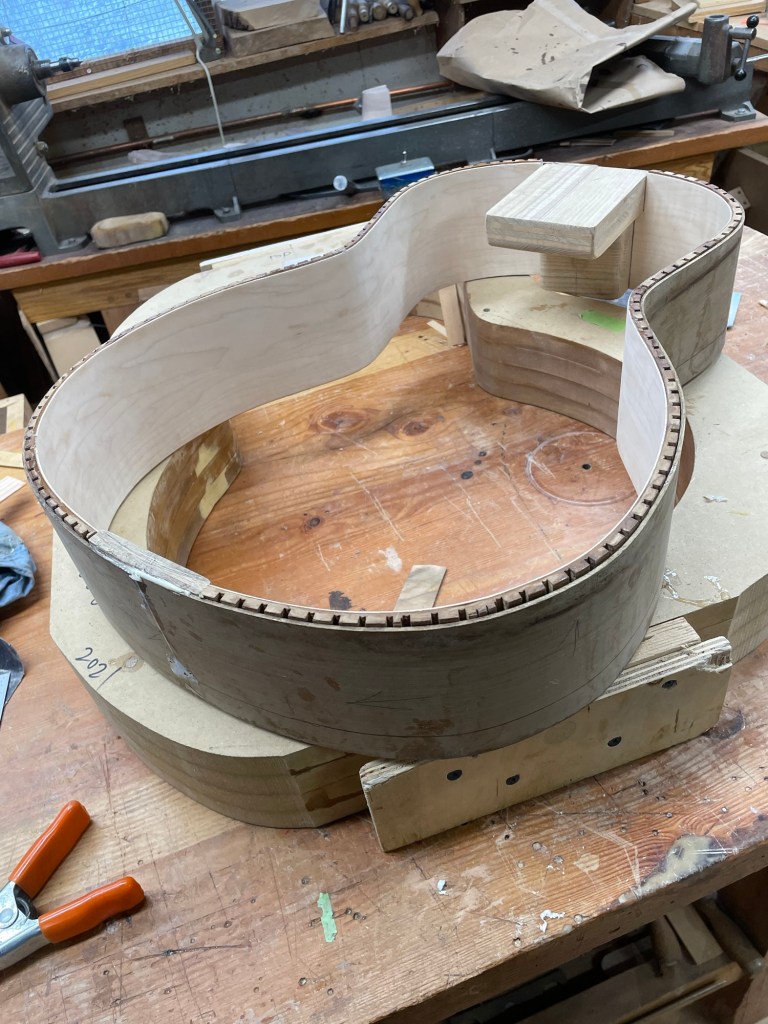
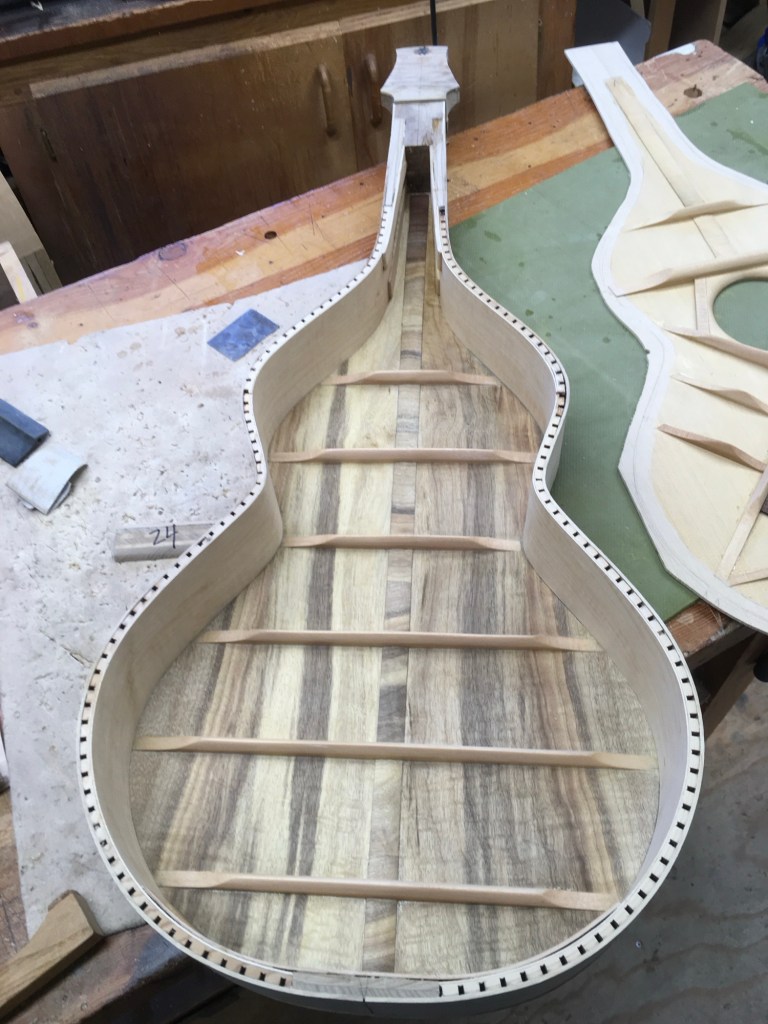
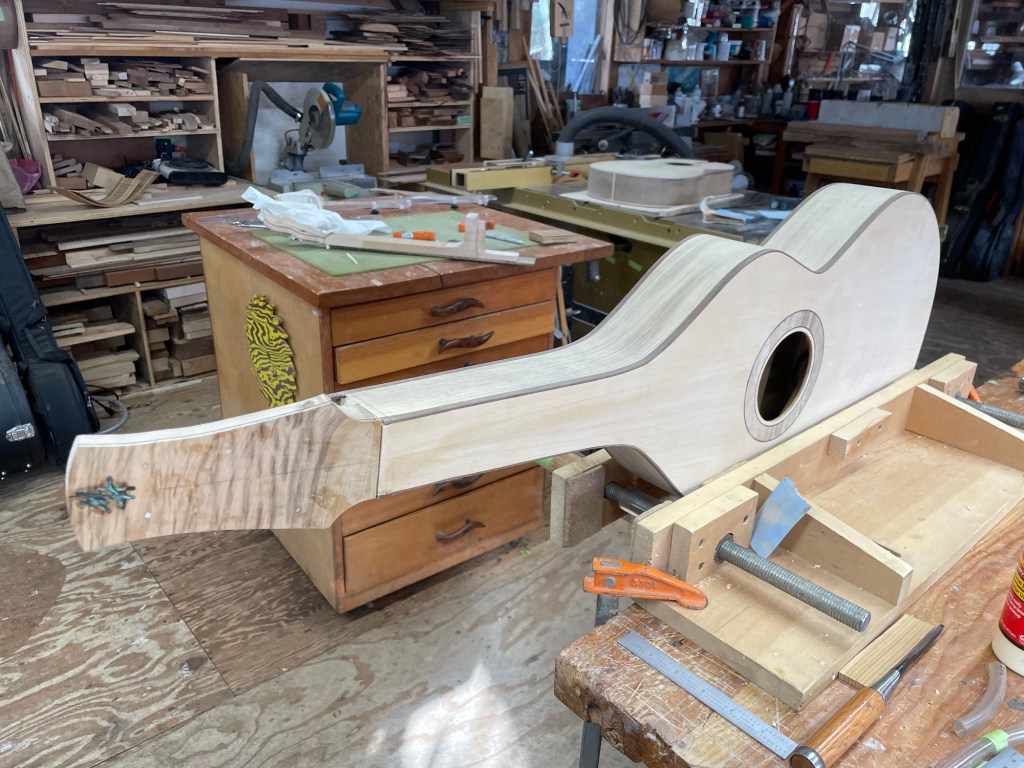
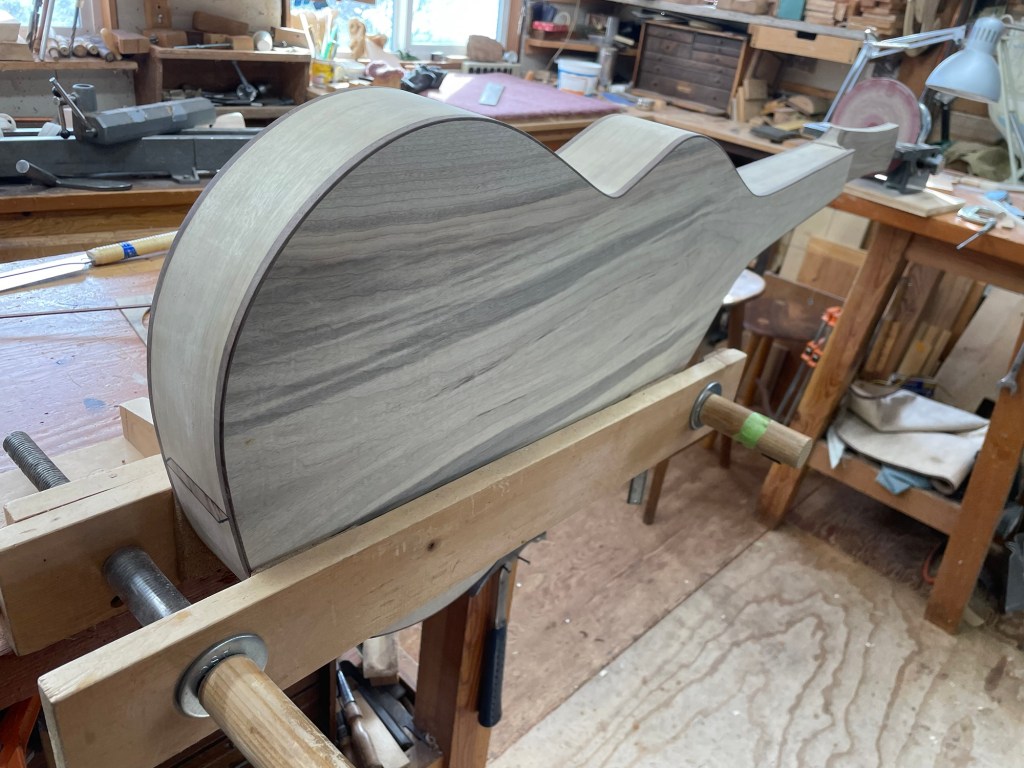
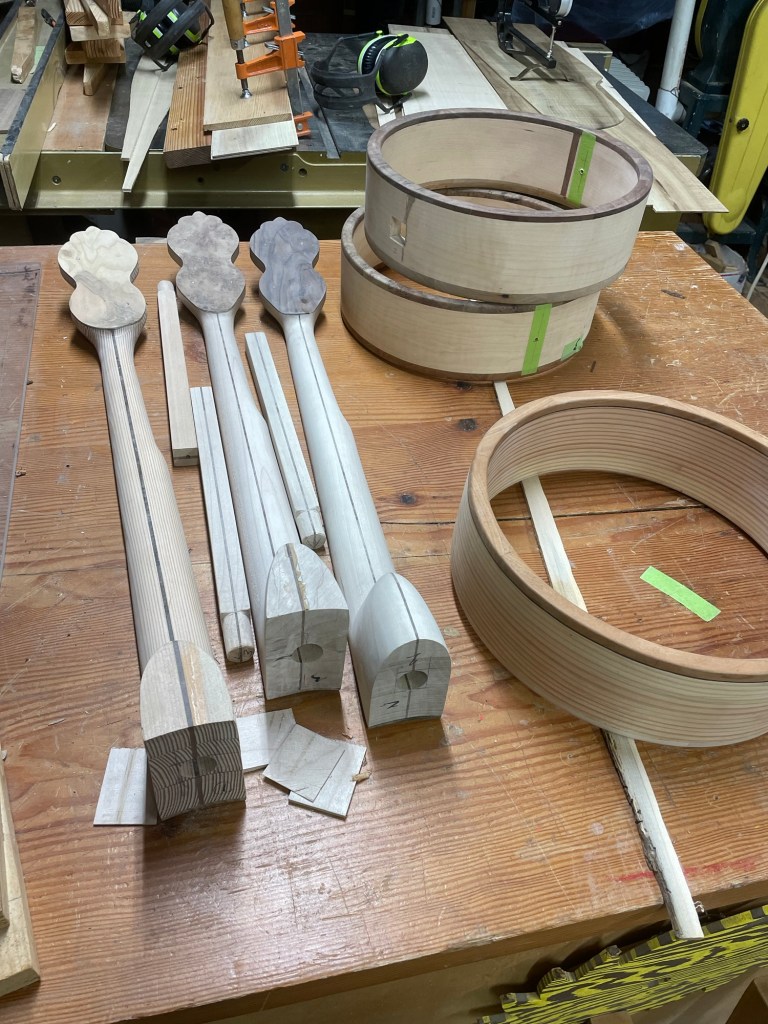
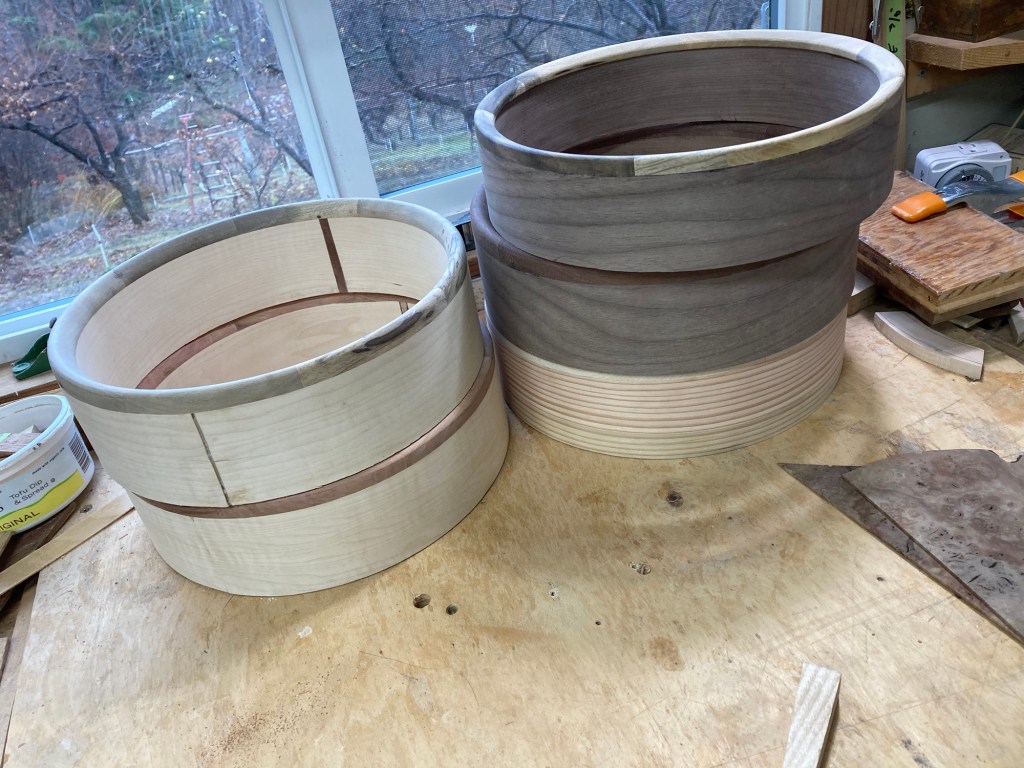
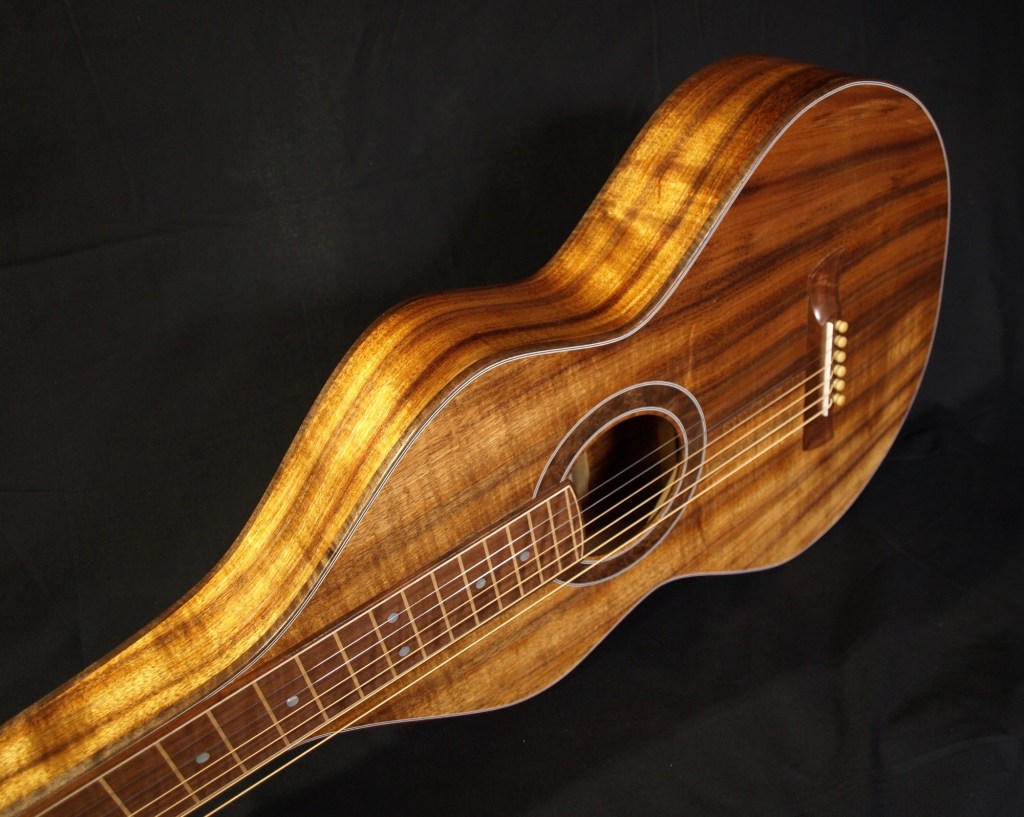
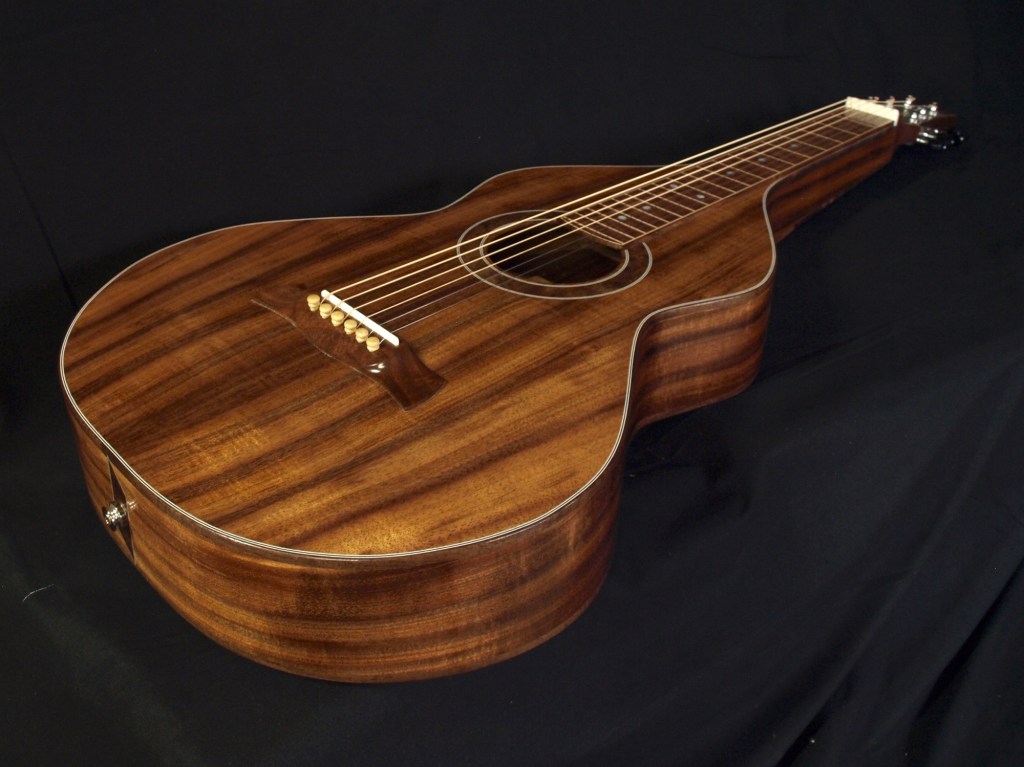
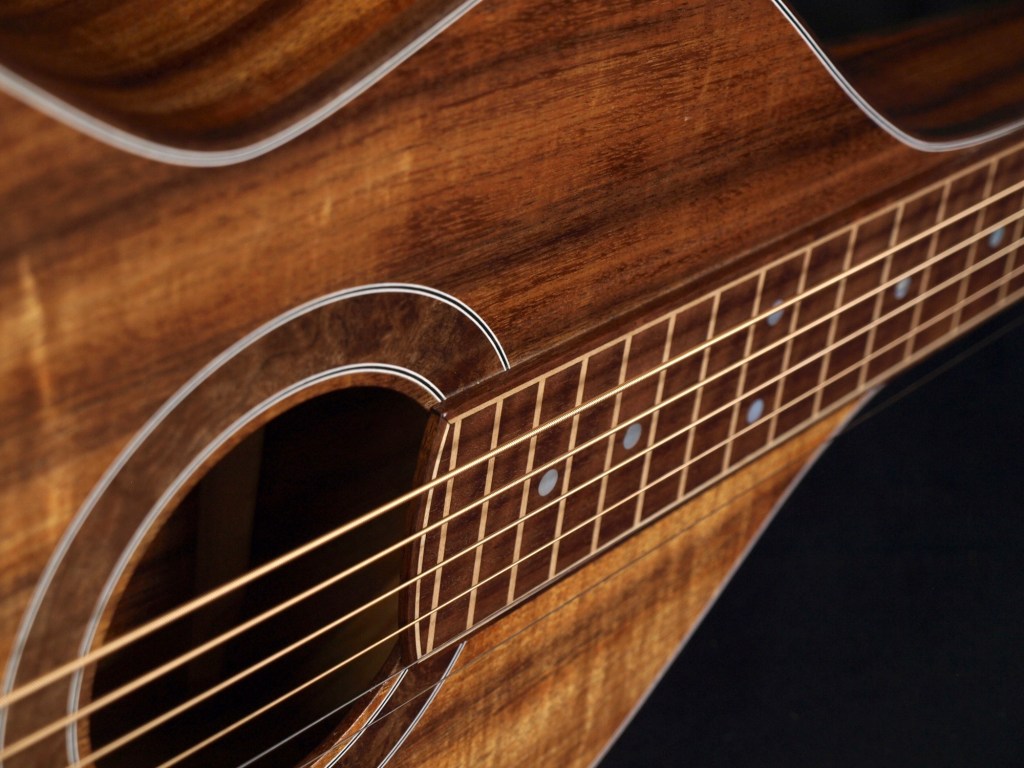
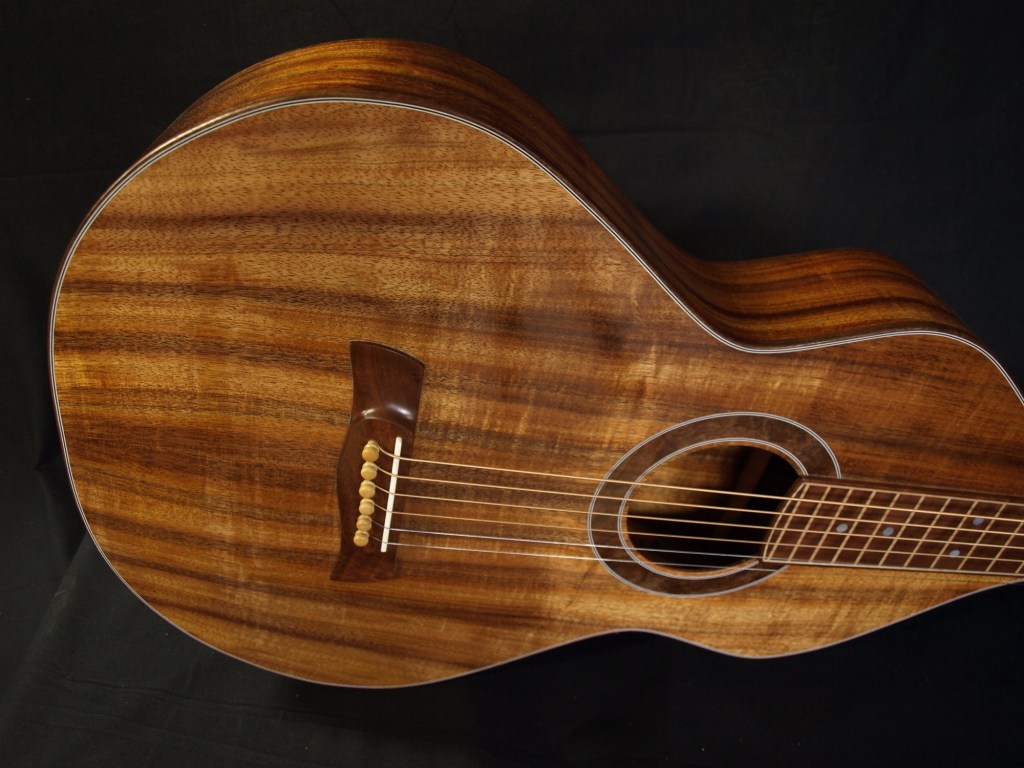
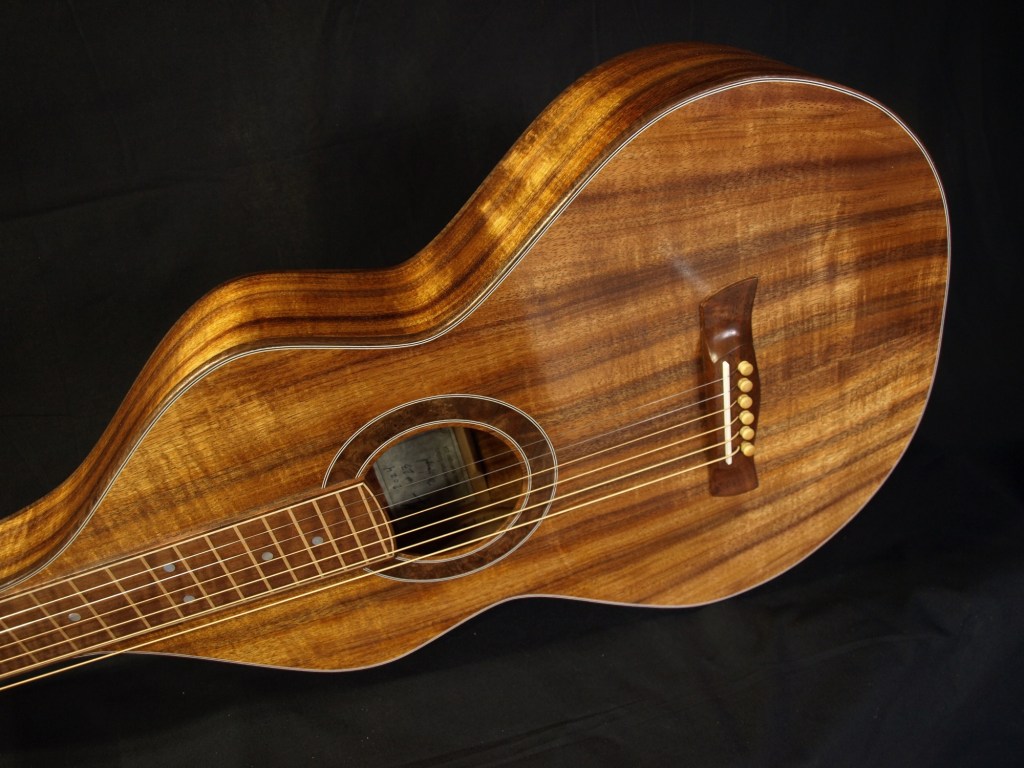
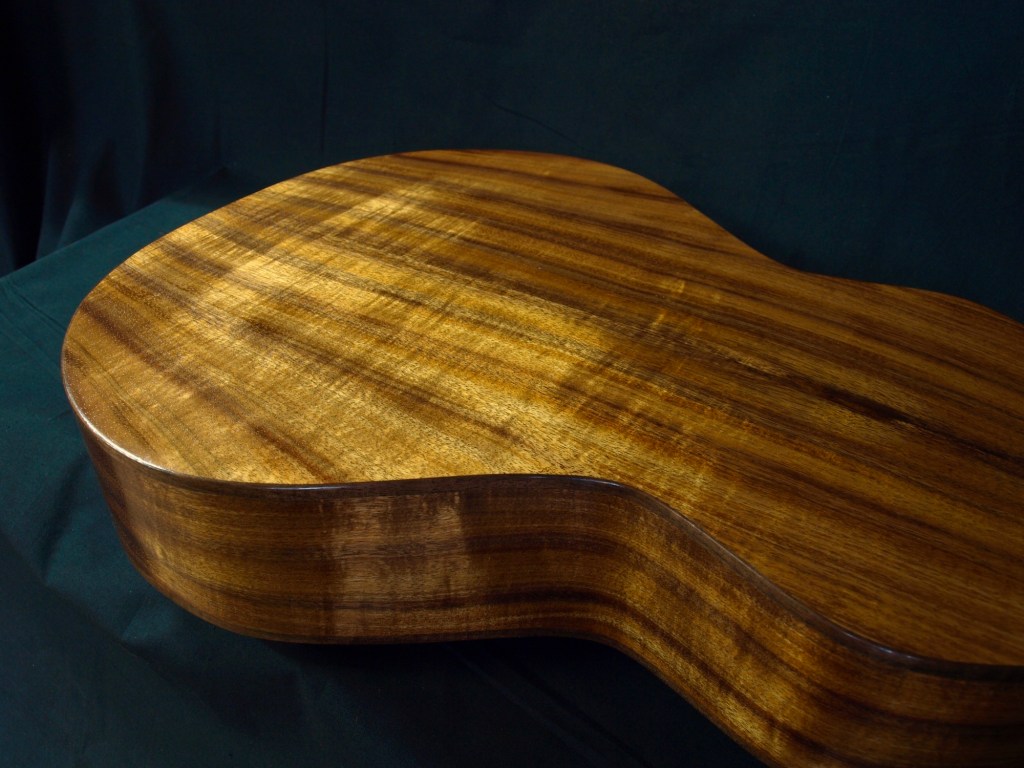
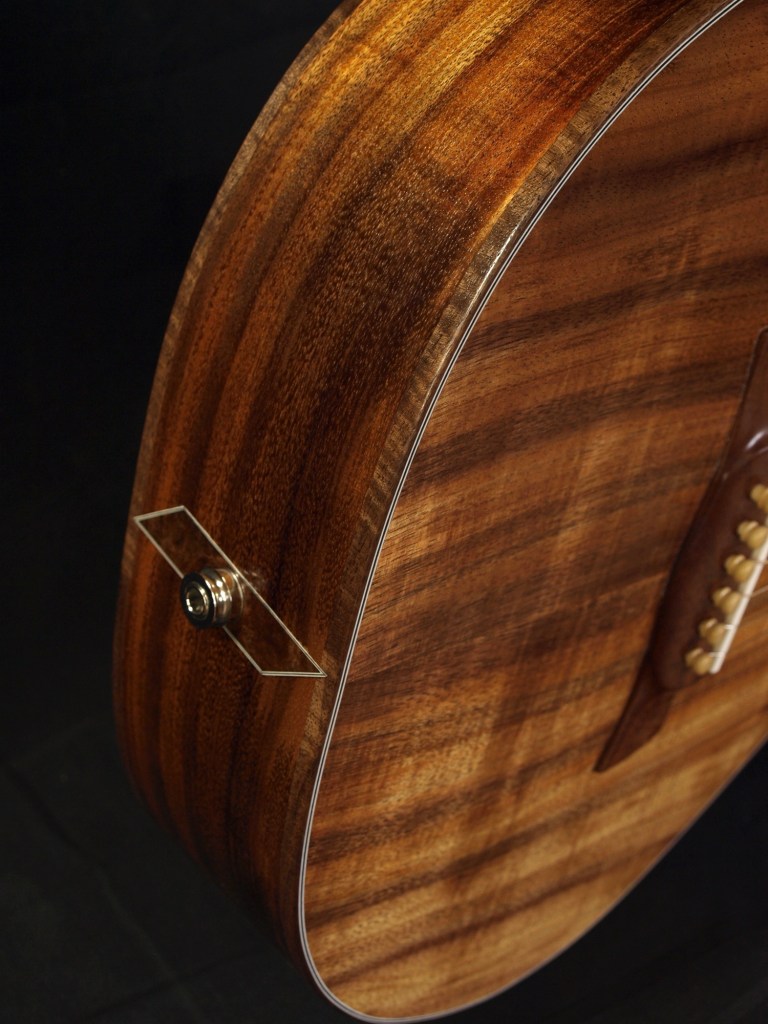
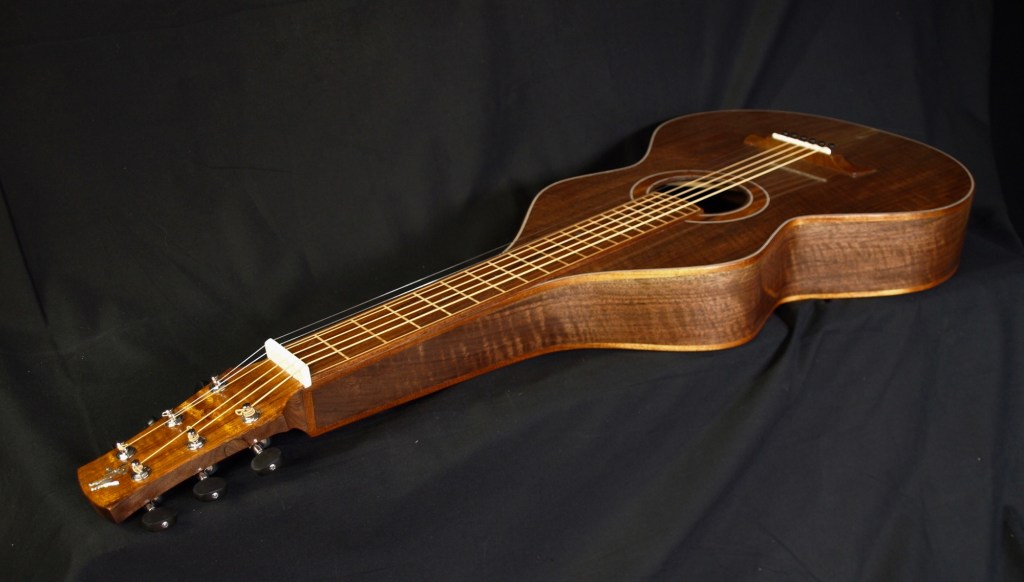
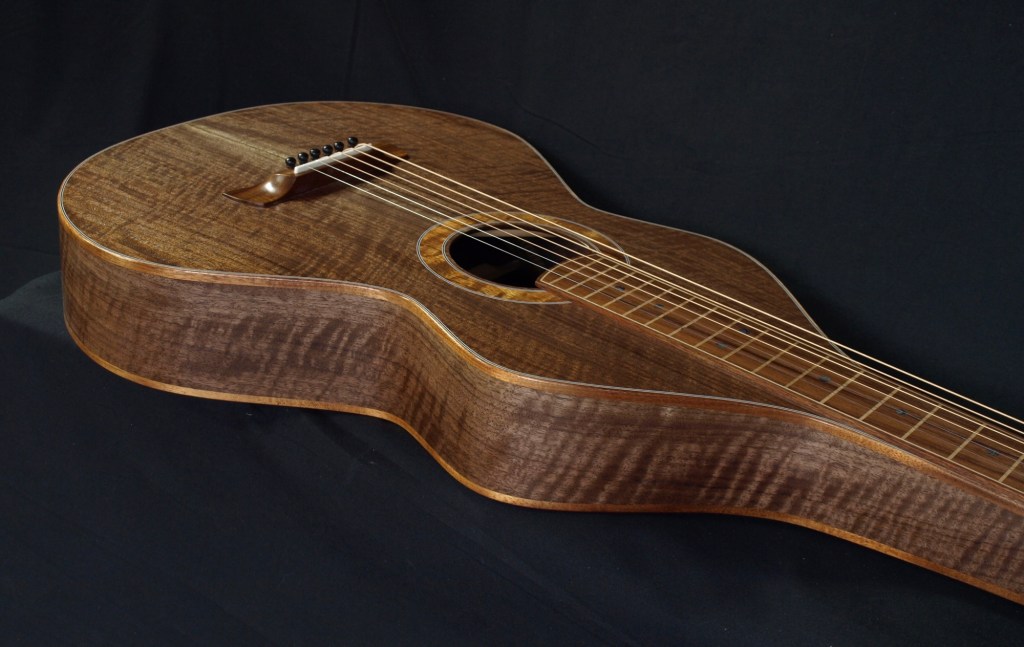
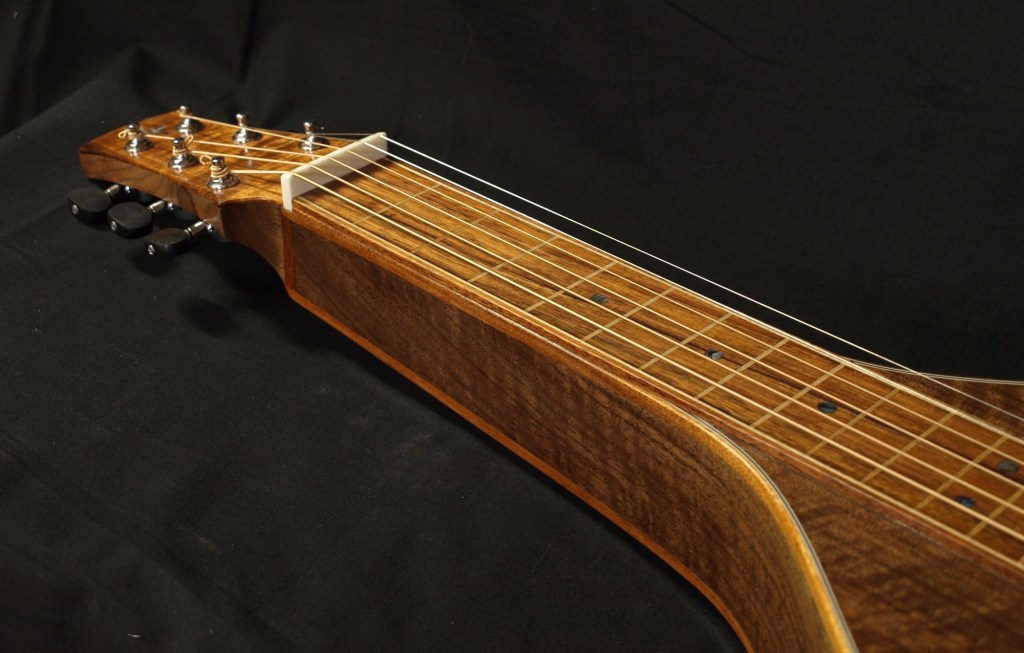
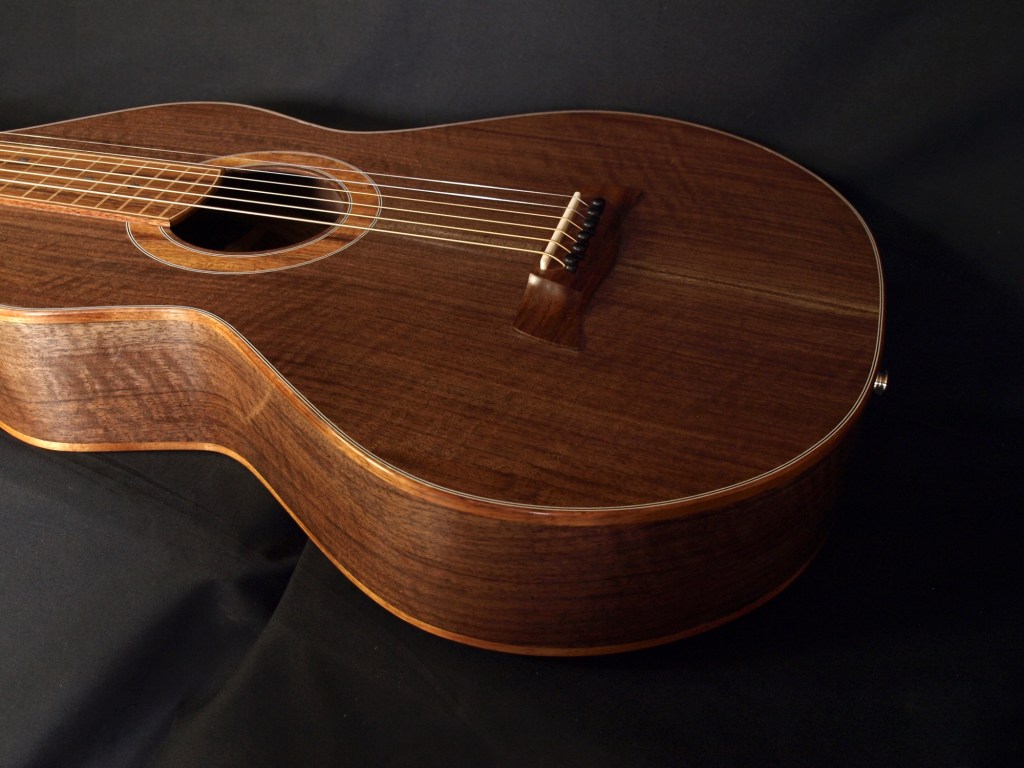
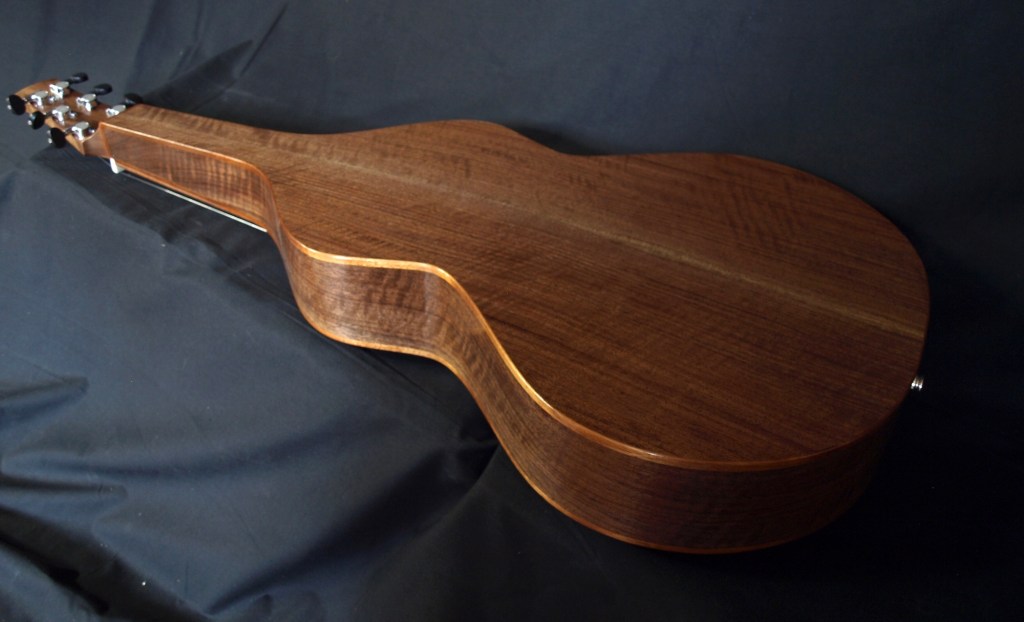
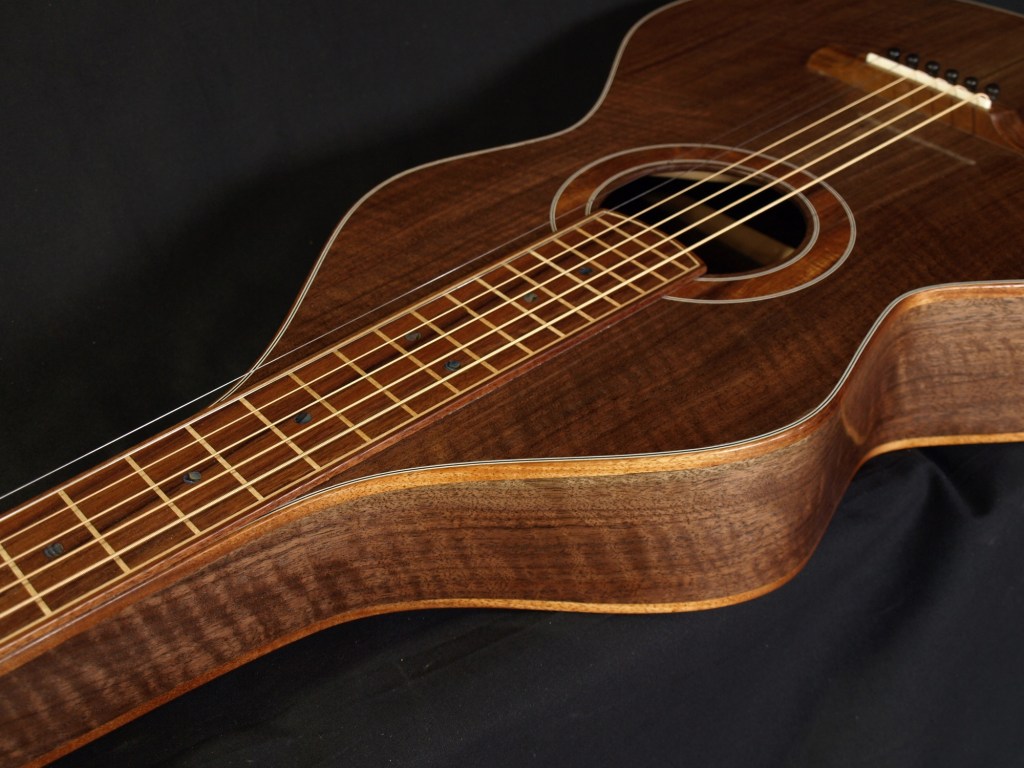
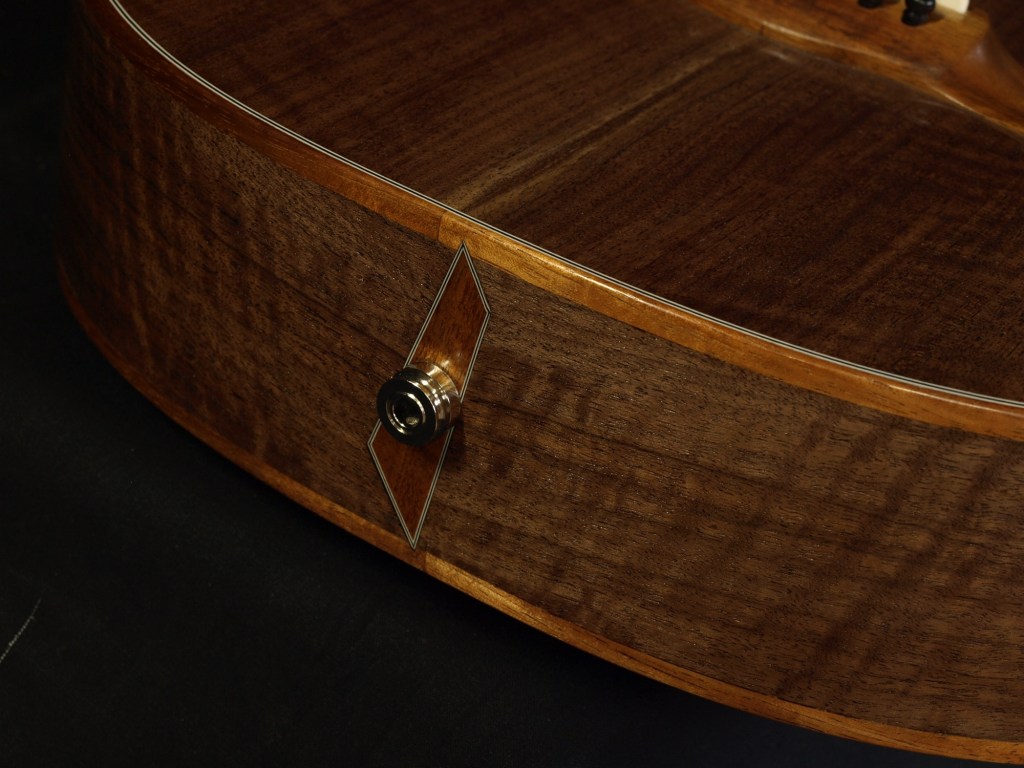
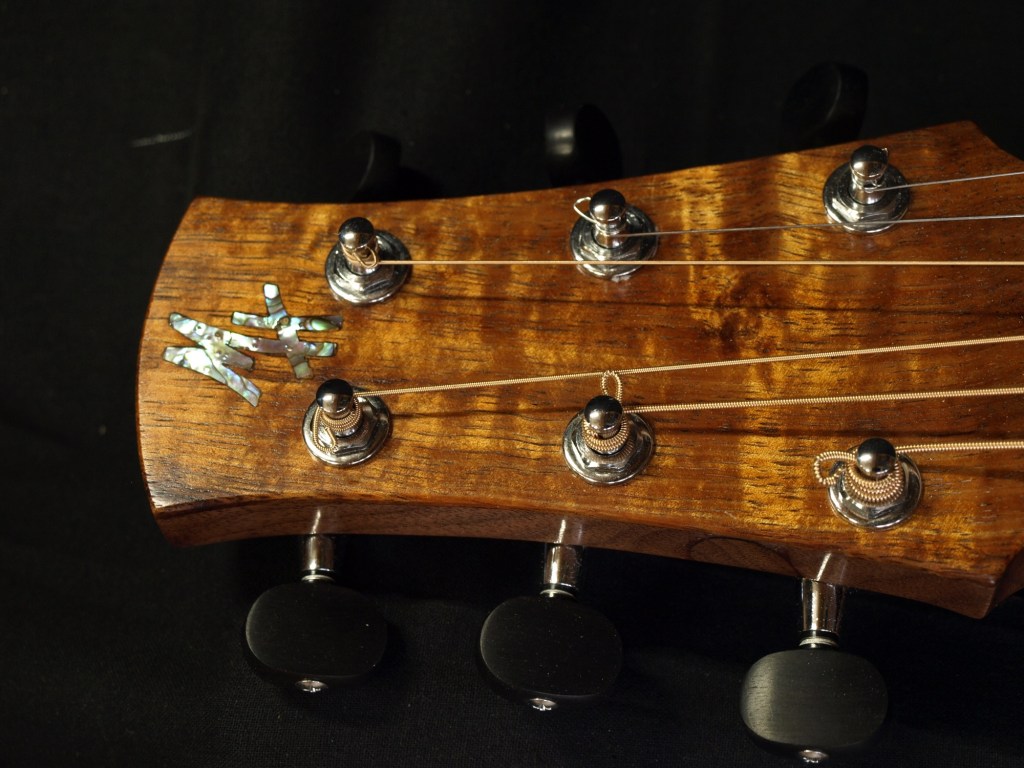
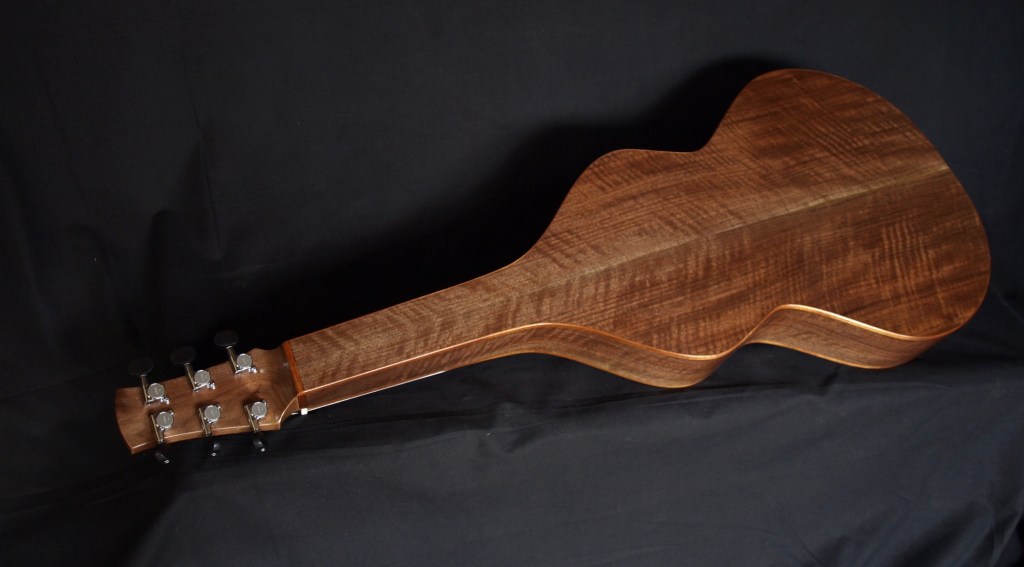
My Winter projects have been four Hawaiian steel guitars, or Weissenborns as they are commonly known as. Two are made with the Honduran Mahogany mentioned in my previous post, one of those with a mahogany top, the other with a red cedar top. One is made from myrtlewood and Port Orford cedar top and the fourth is black walnut with a red cedar top. They all have laminated sides, the sides with 1/4″ thick kerfed red cedar and then a 1/16″ veneer on the inside, I did a post about all this last year.

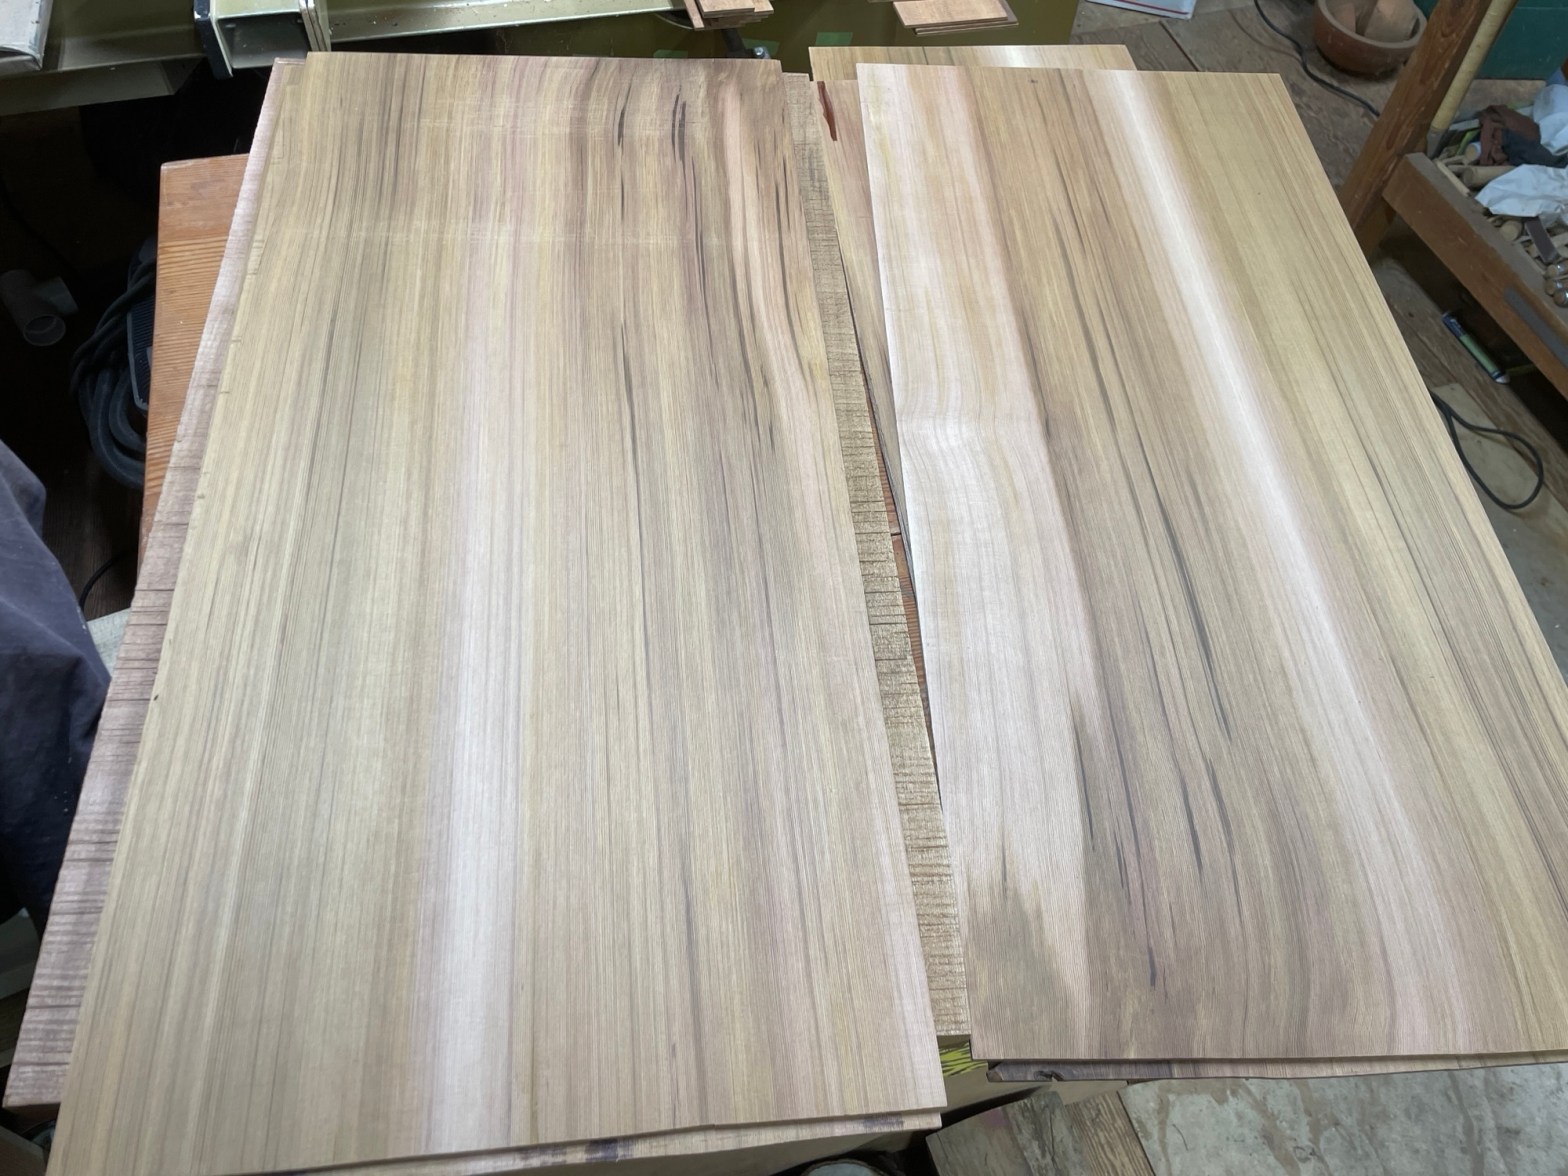
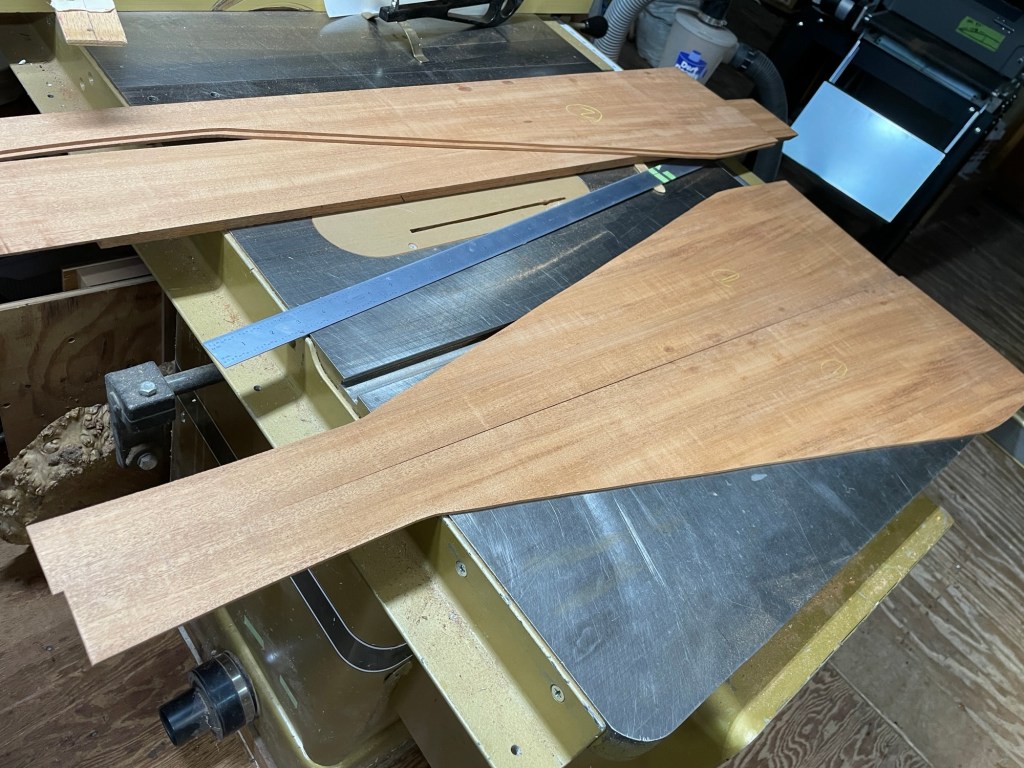
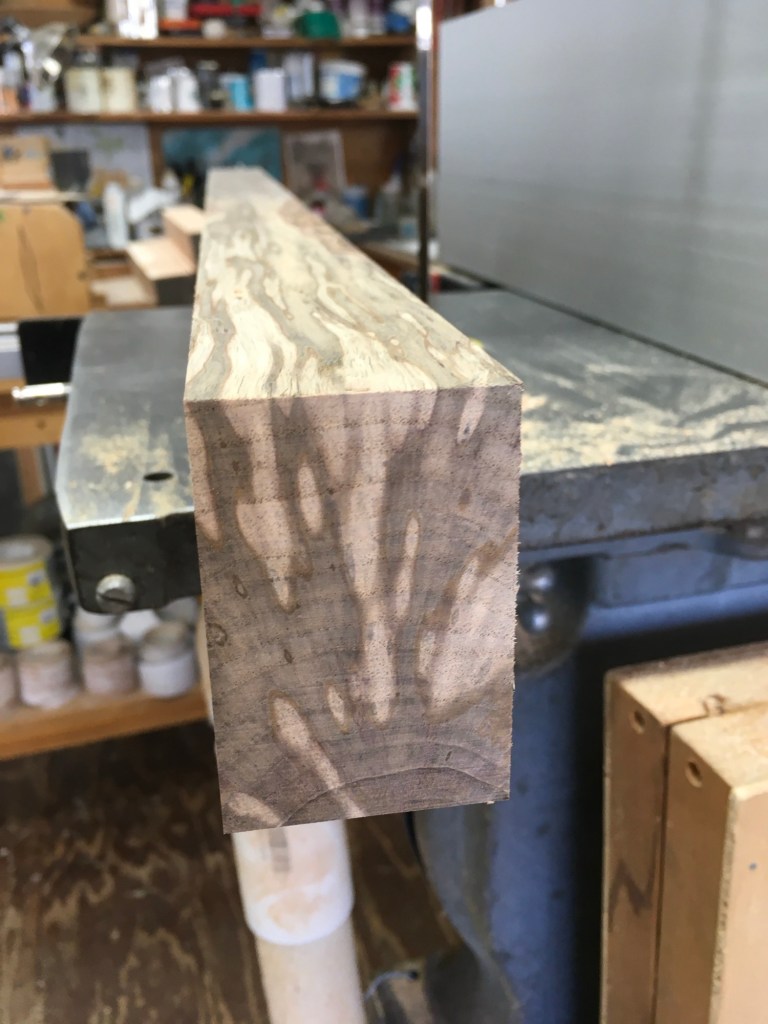
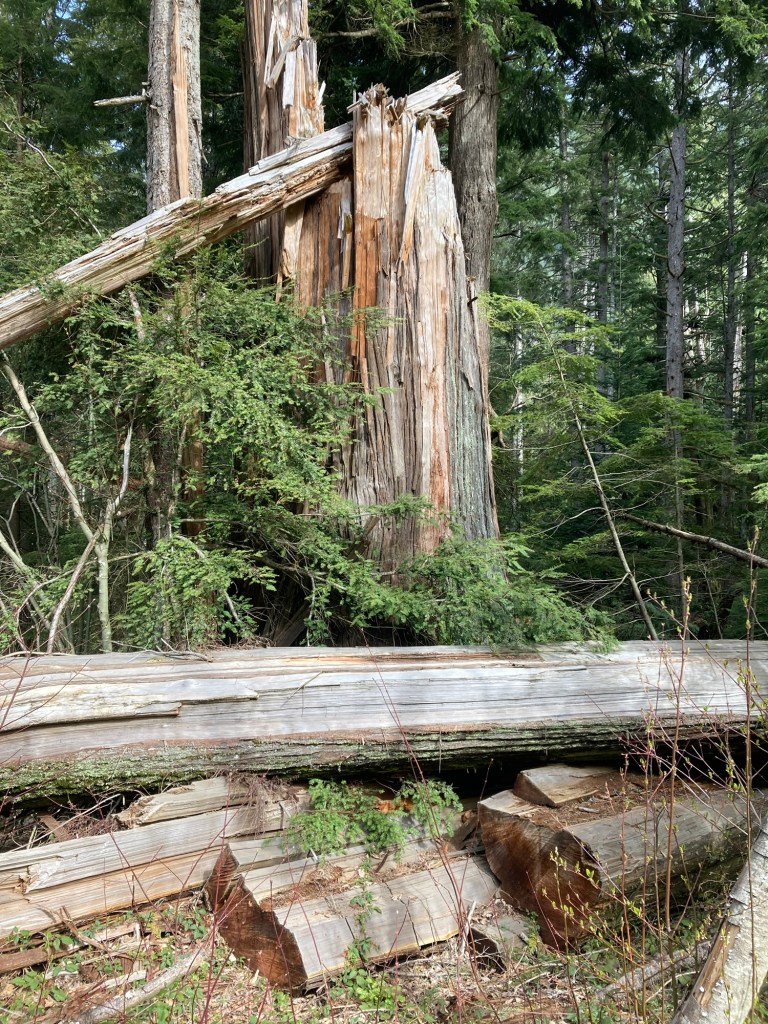
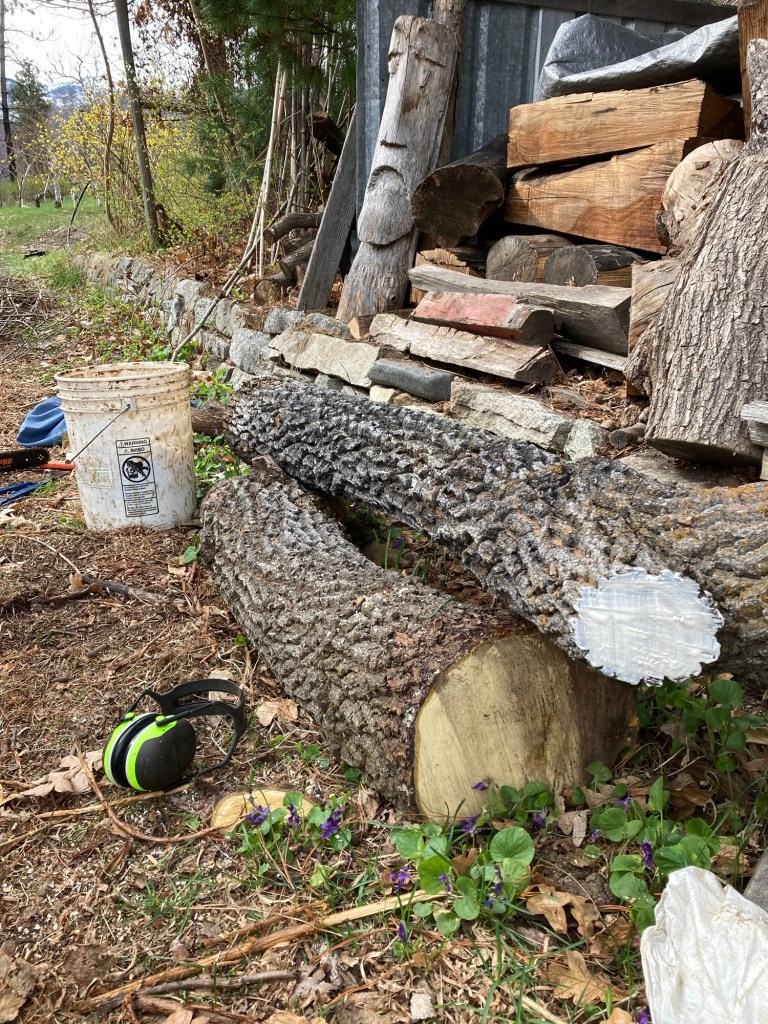
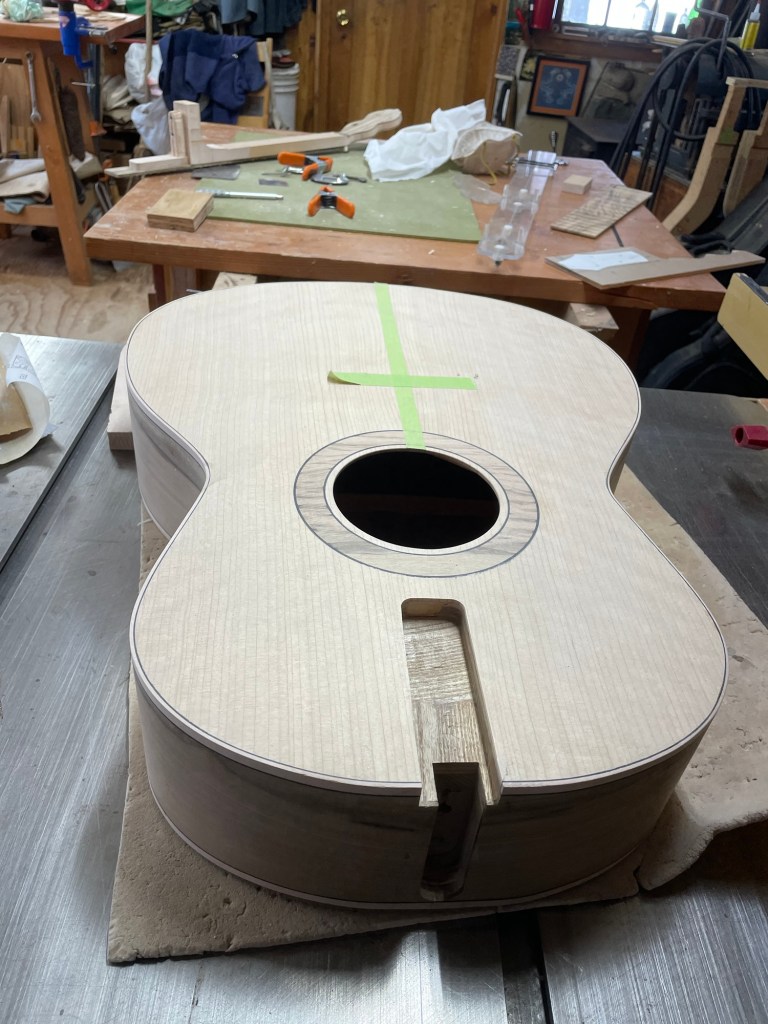
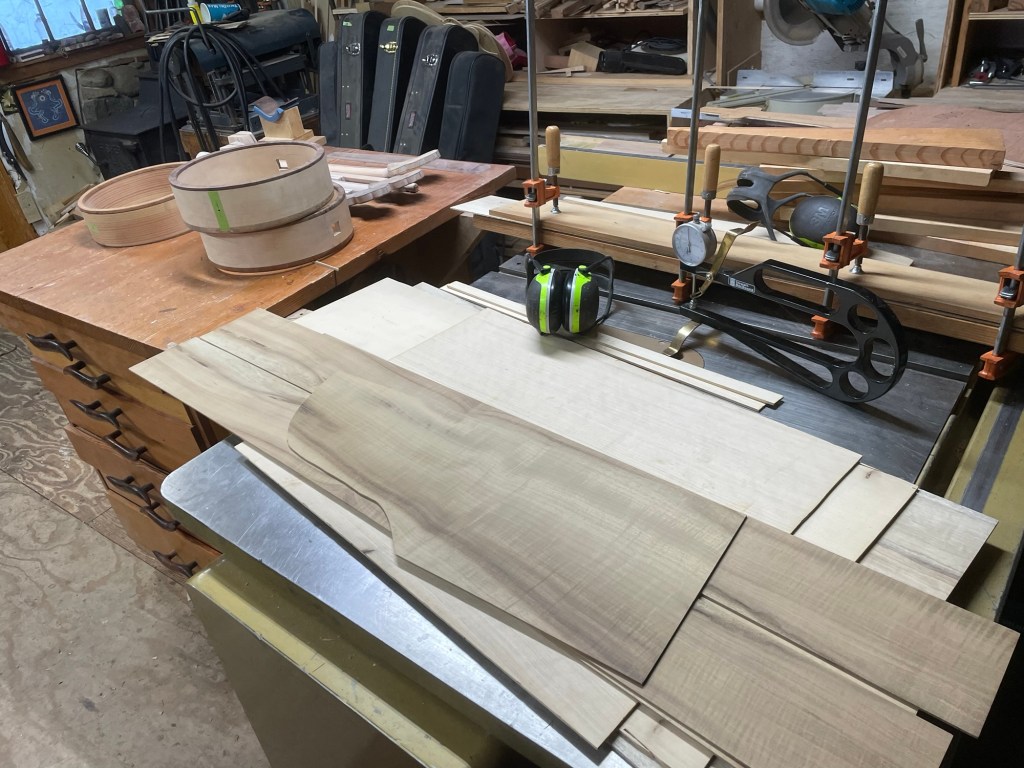
The two guitars with the red cedar tops are one piece tops, most tops are made with two pieces glued together, a book match. These two are the full width of the guitar, really beautiful material. Probably not much different sonically than a two or three pieces top, but a visual treat, for me anyway. It came from a tree that fell on the highway in the Cascades, we were going to Seattle and on our return trip I packed our car with the (literal) windfall, the road department had cut it up to get it off the road. The tree was huge and old, but the time had come for it and that winter took it down. I counted over 650 grain lines on one of the tops, and that’s only a small portion of the tree.

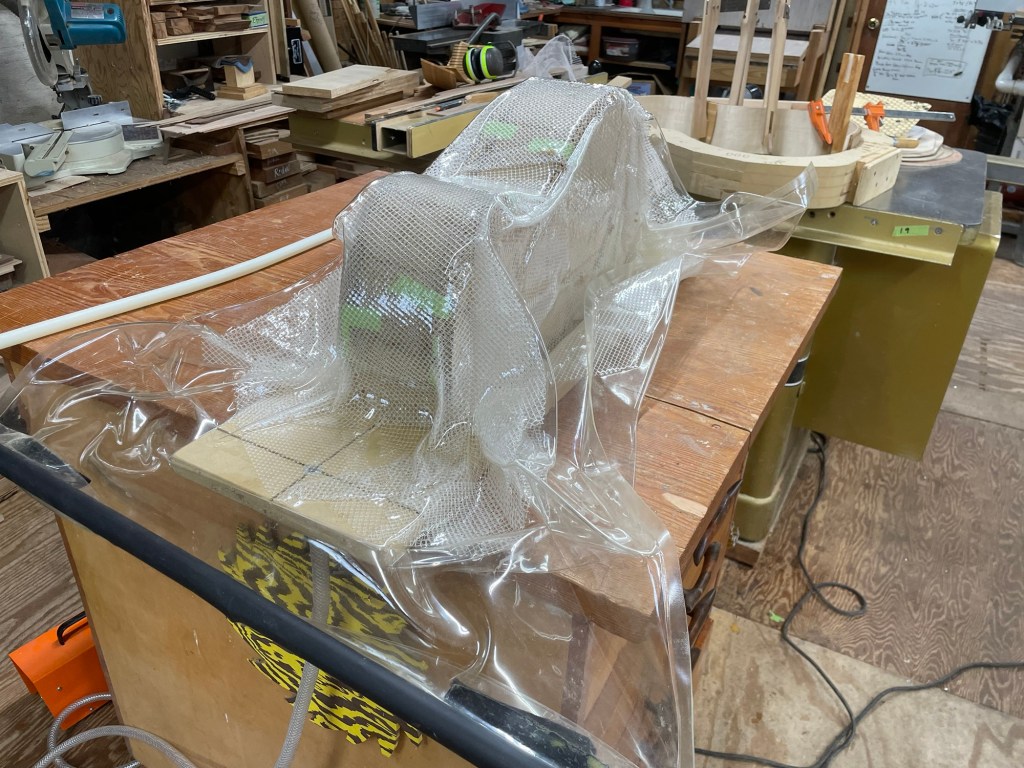
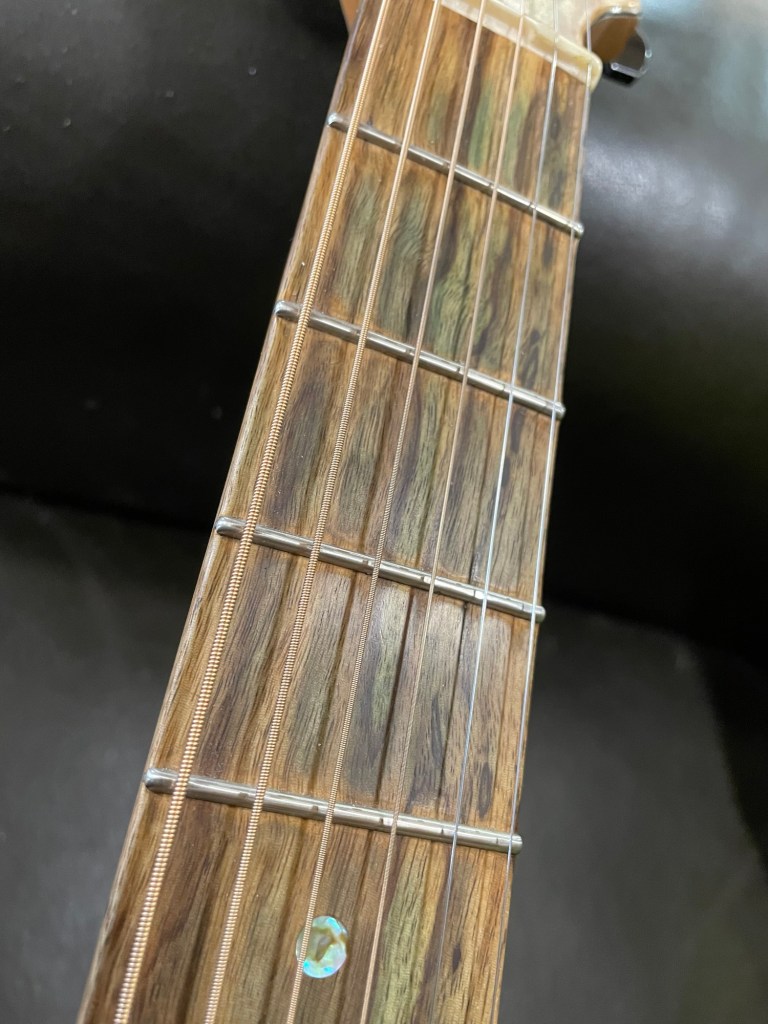
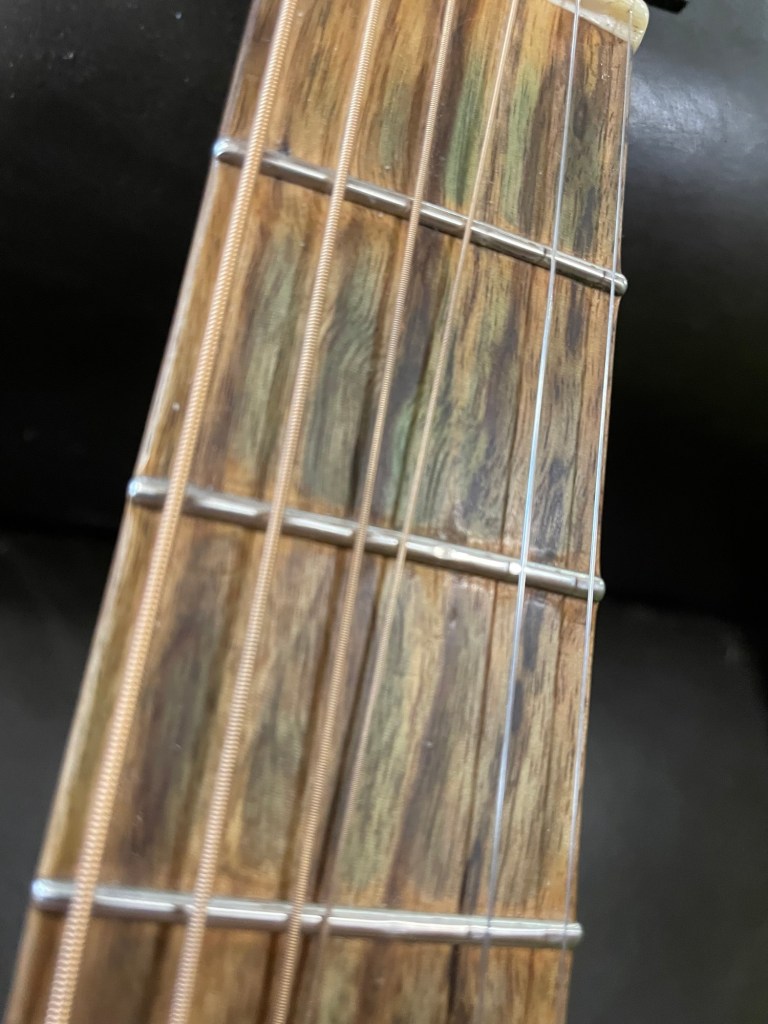
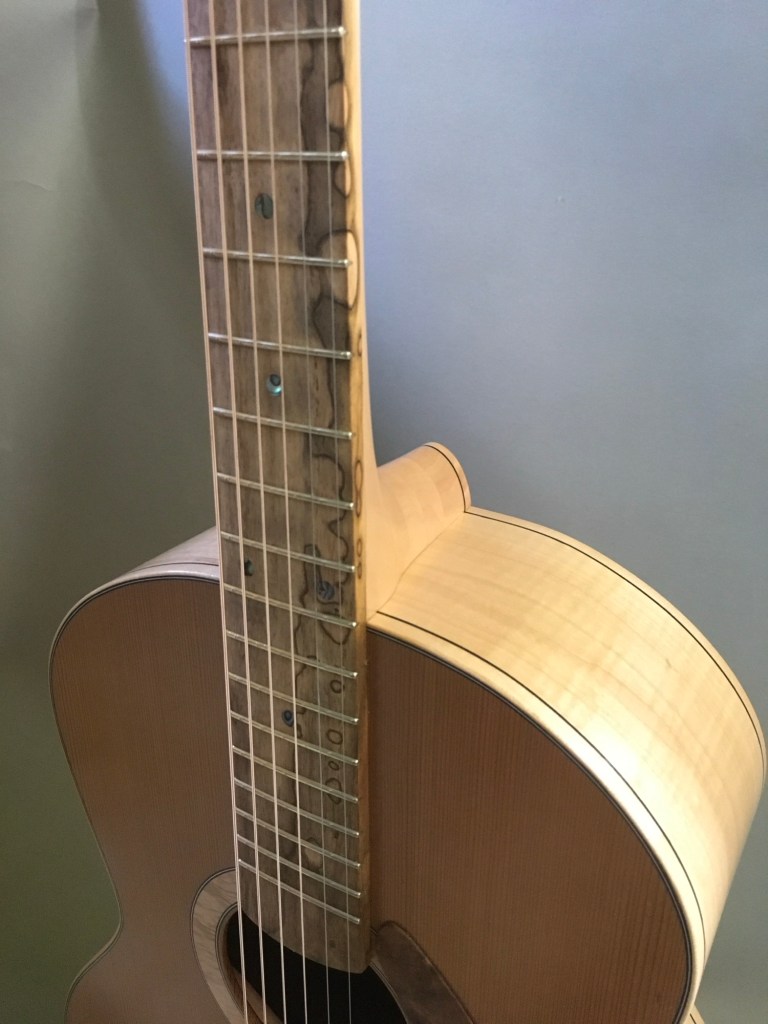
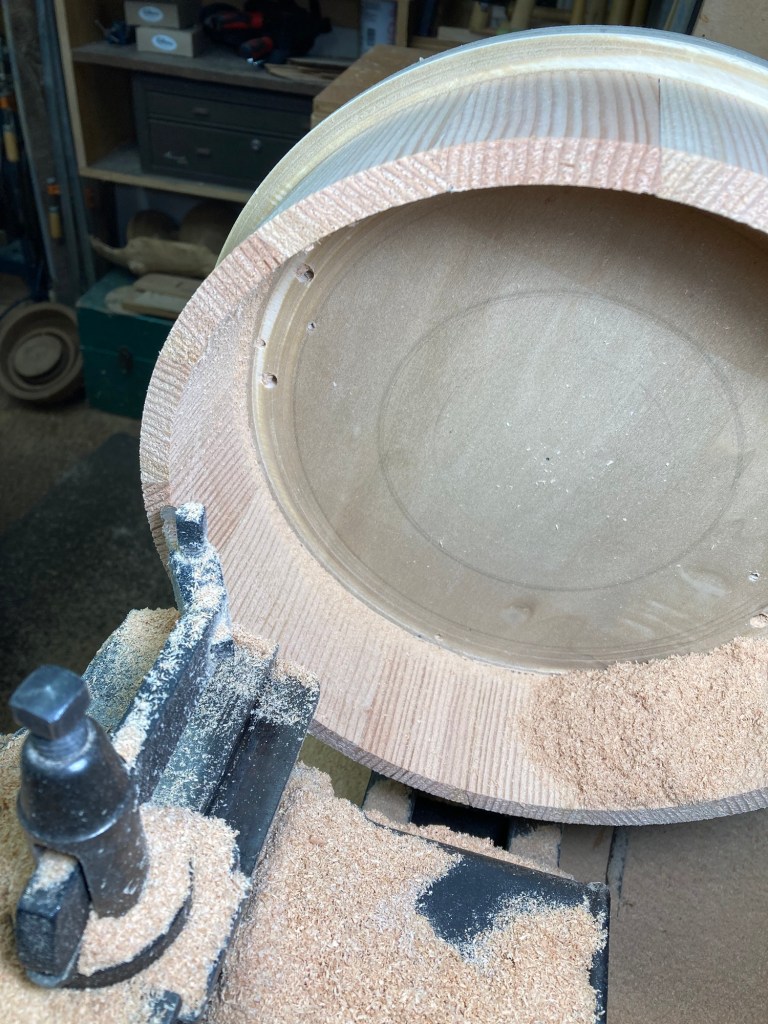
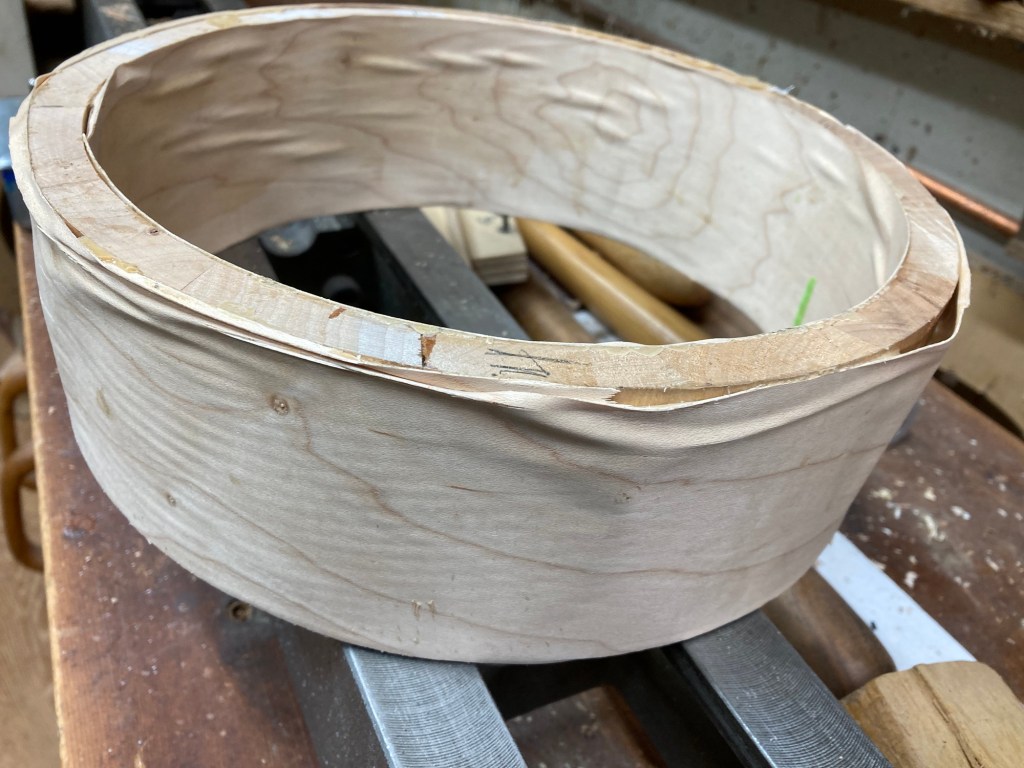
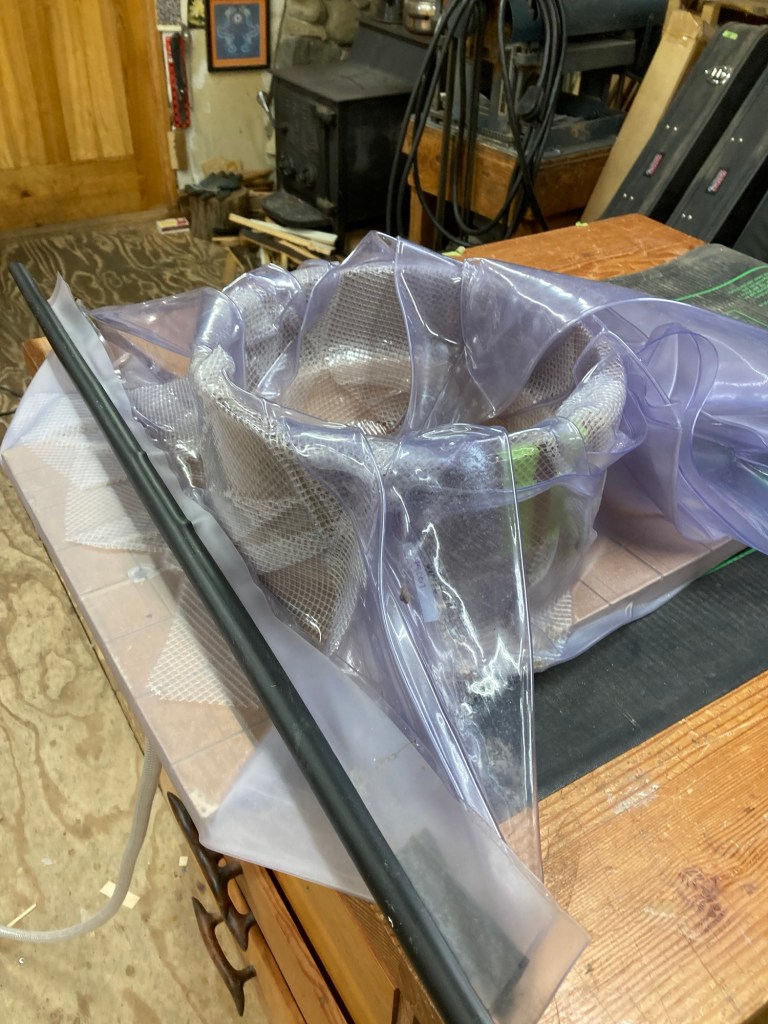
Anyway, here’s some pics of where they are right now, I’ll post finished images when they’re all put together.